
Getting Started
Welcome to Bombajom Photos. Getting your photos safely backed up takes just a few minutes. You can back up to a USB external drive, a folder on your computer, or network storage like a Synology or QNAP.
What You'll Need
- A storage device: a USB external drive, a shared folder on your computer, or a NAS (Synology, QNAP, etc.)
- Your storage device should support standard file sharing
- An iPhone or Android phone
- Both devices connected to the same WiFi network
- Your storage device username and password (if required)
Quick Start (5 Minutes)
-
Download the app
Get Bombajom Photos from our download page. Android phones can get it from Google Play today. The iPhone app is not in the App Store yet. -
Grant photo access
When prompted, allow access to your photo library. This lets the app see which photos need backing up. -
Choose where your photos go
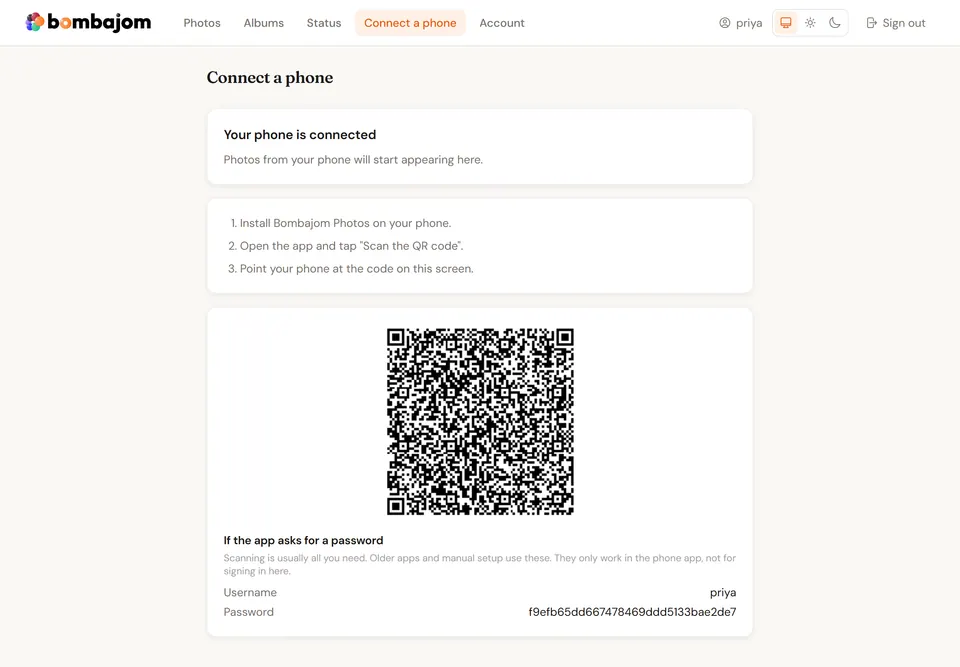
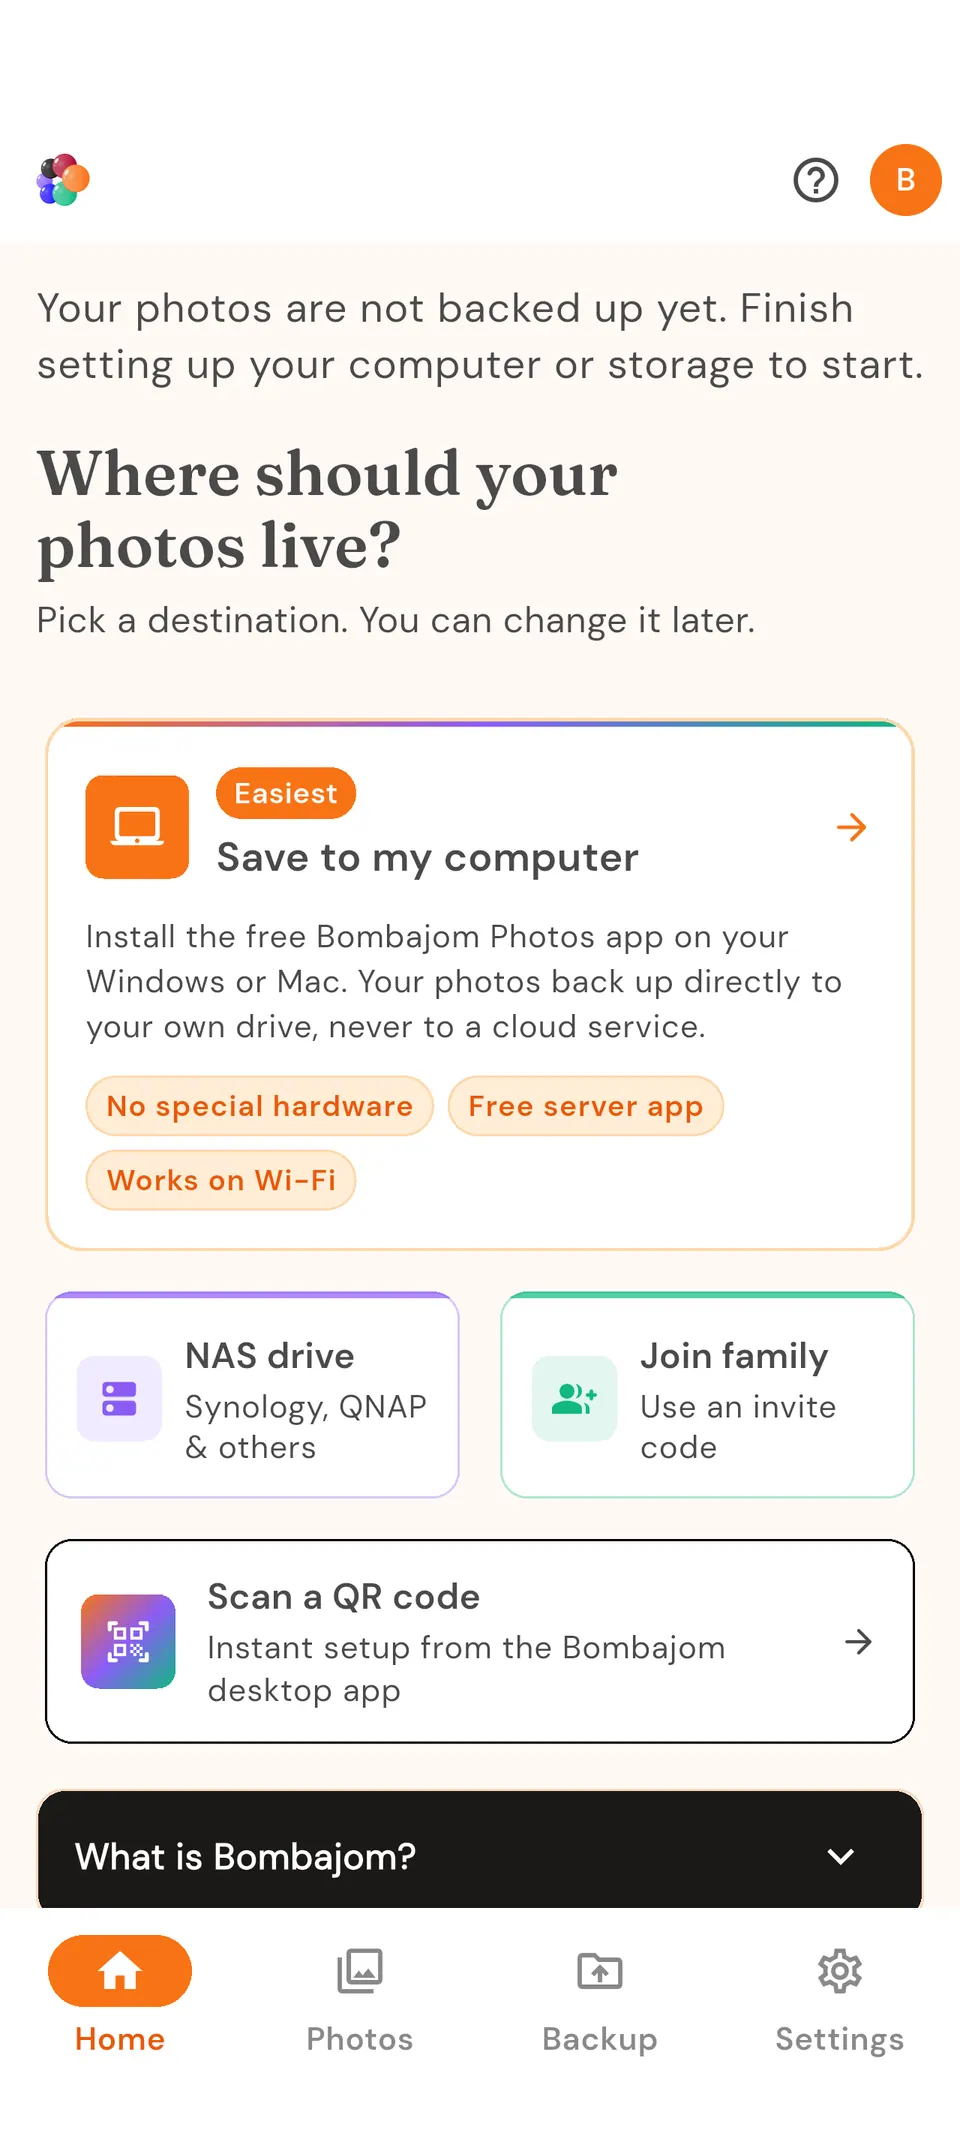
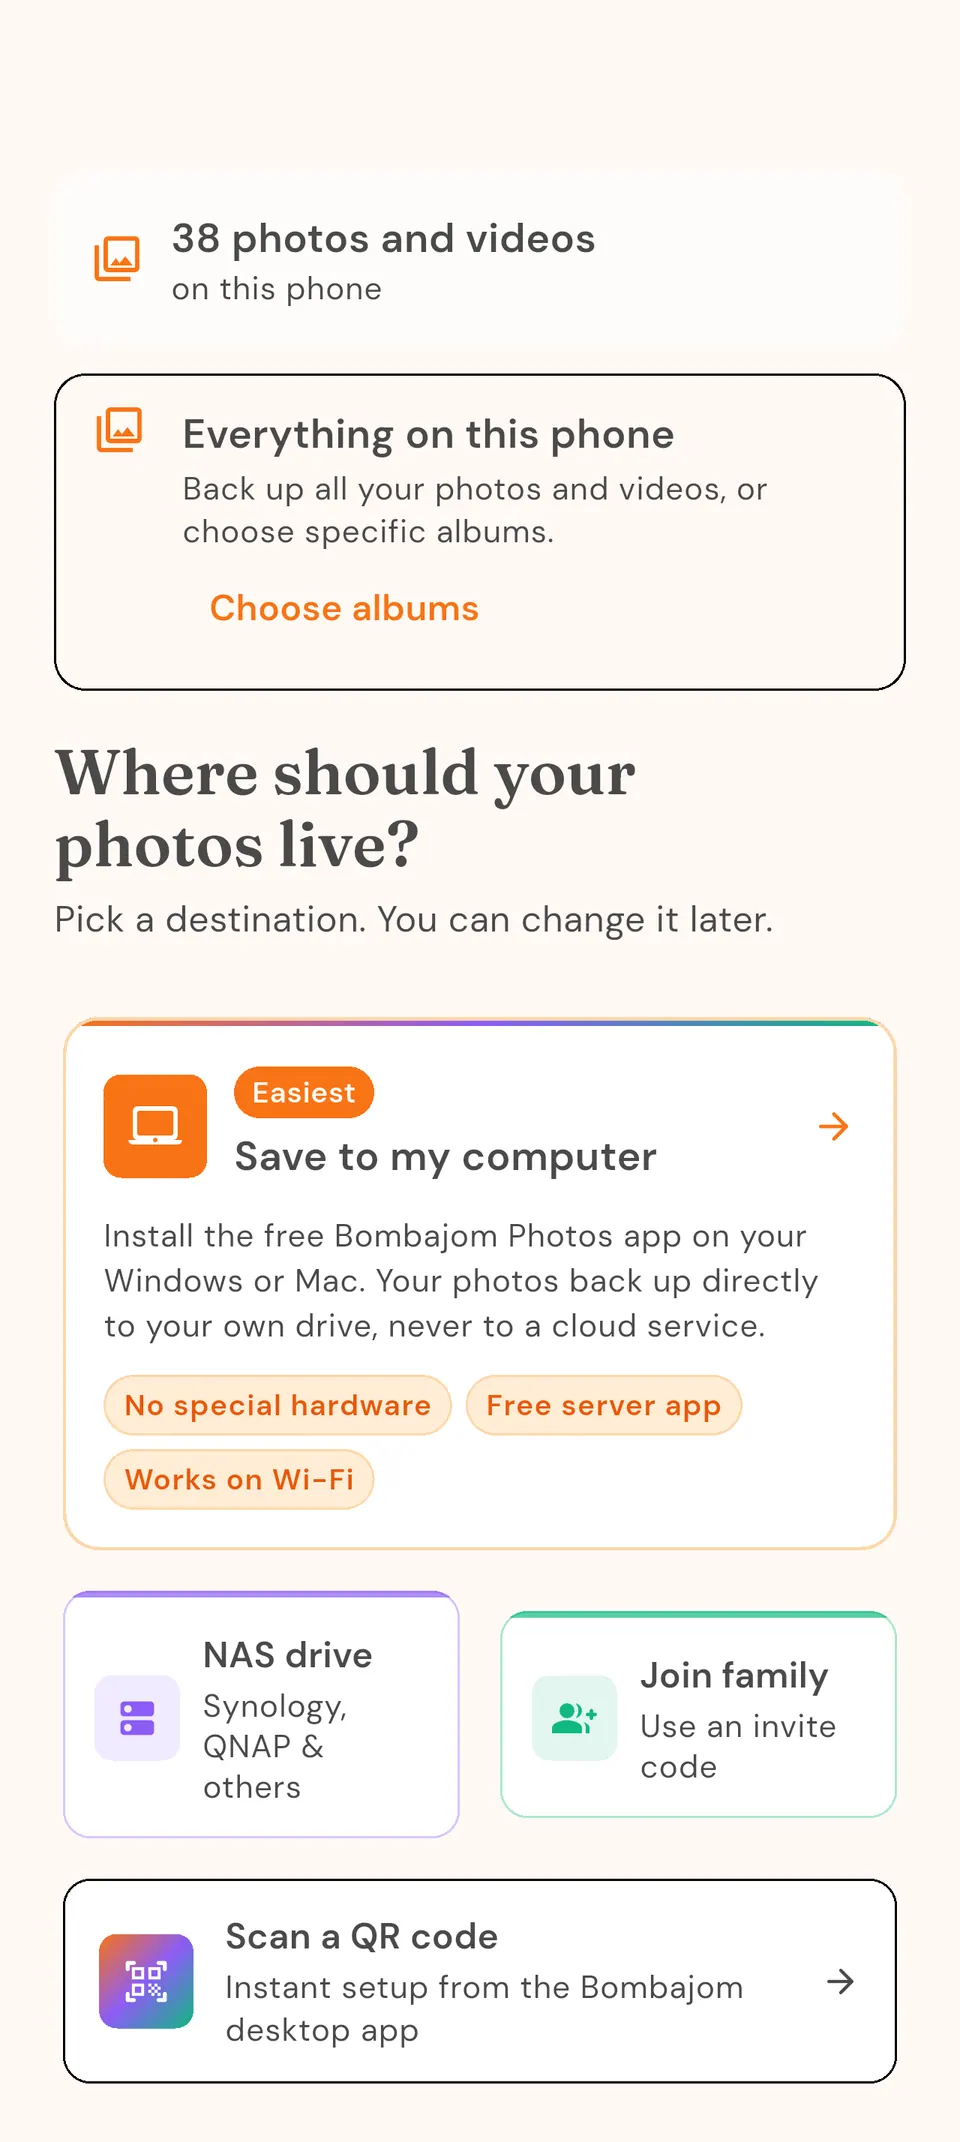
The easiest option is a USB drive or folder on your computer: install Bombajom Server, our small helper app, and it shows a QR code (see External Drive Setup). Have a Synology, QNAP, or other network storage? Tap "Add NAS" and the app finds it on your WiFi. -
Connect
Using the helper app? Tap "Scan a setup QR code" and point your camera at the screen. Connecting to a NAS? Enter your NAS username and password. These are stored securely on your device. -
Choose a folder
Select where you want your photos stored, or let us create a "Bombajom Photos" folder. -
Start syncing
Tap "Start using Bombajom Photos" and your backup starts automatically. Want to run one by hand? Tap "Sync now" in the gallery anytime.
Video tutorials
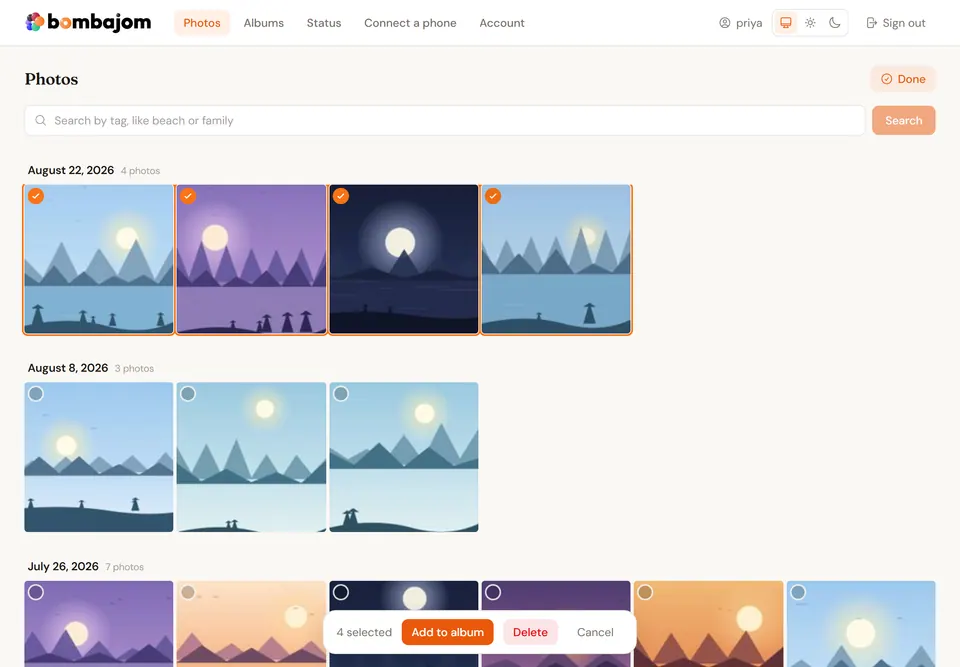
Prefer to watch instead of read? These short walkthroughs show common tasks step by step, from backing up your phone to browsing your photos on your computer.
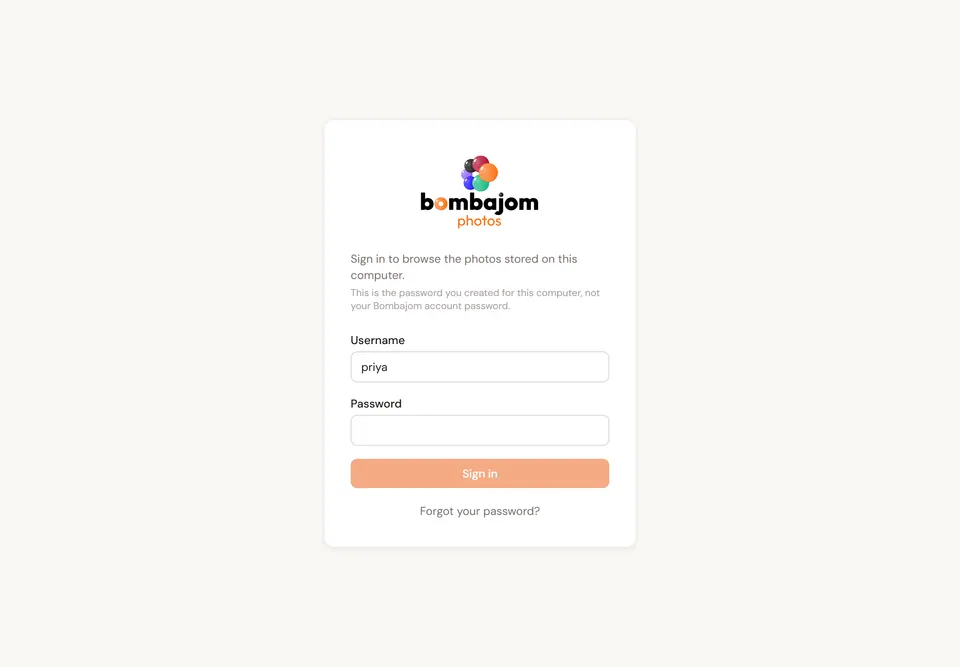
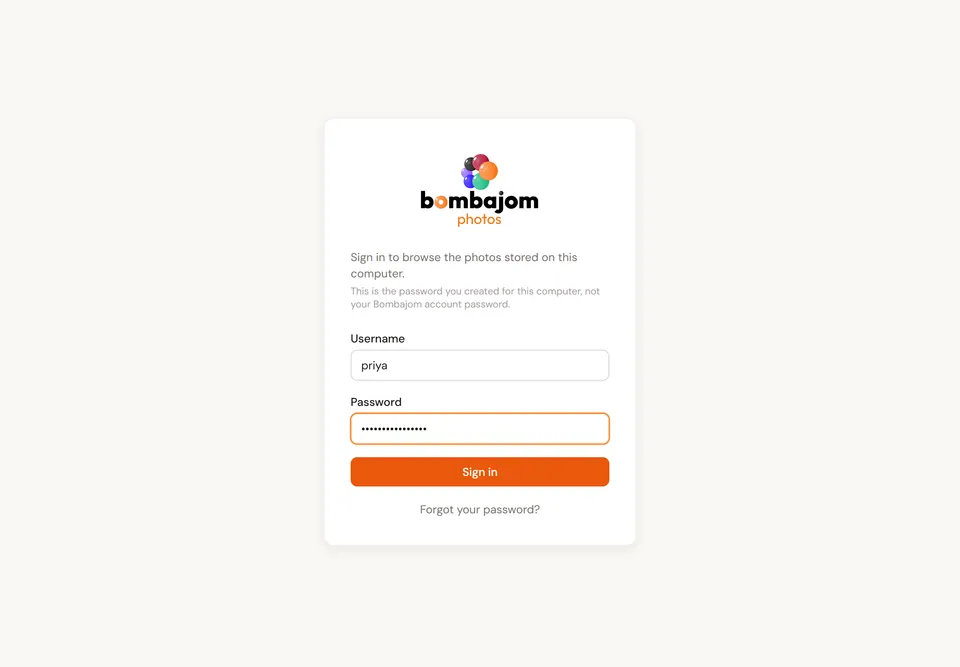
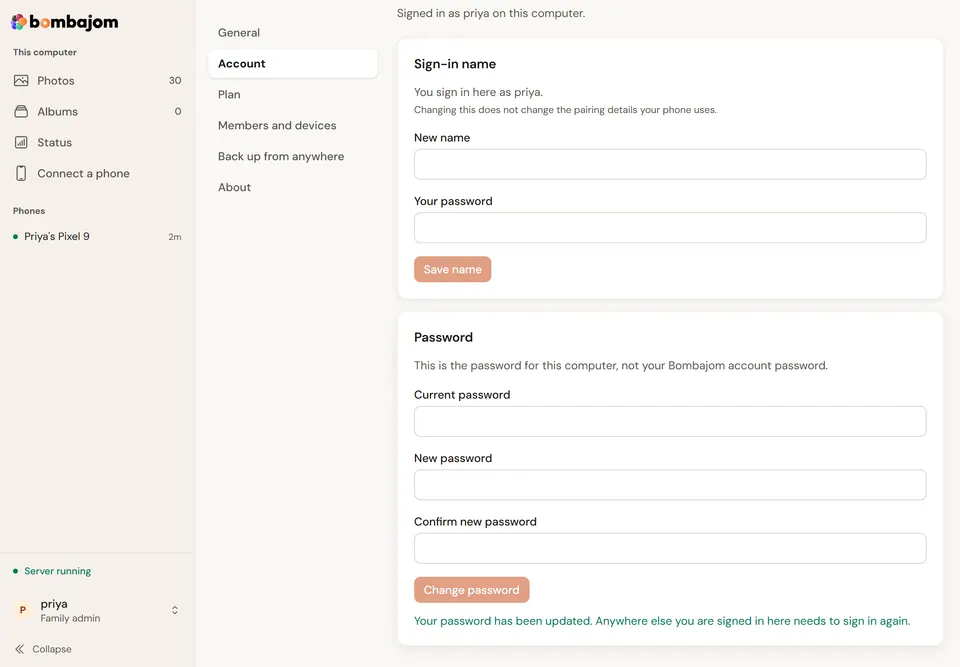
Sign in to your dashboard On your computer
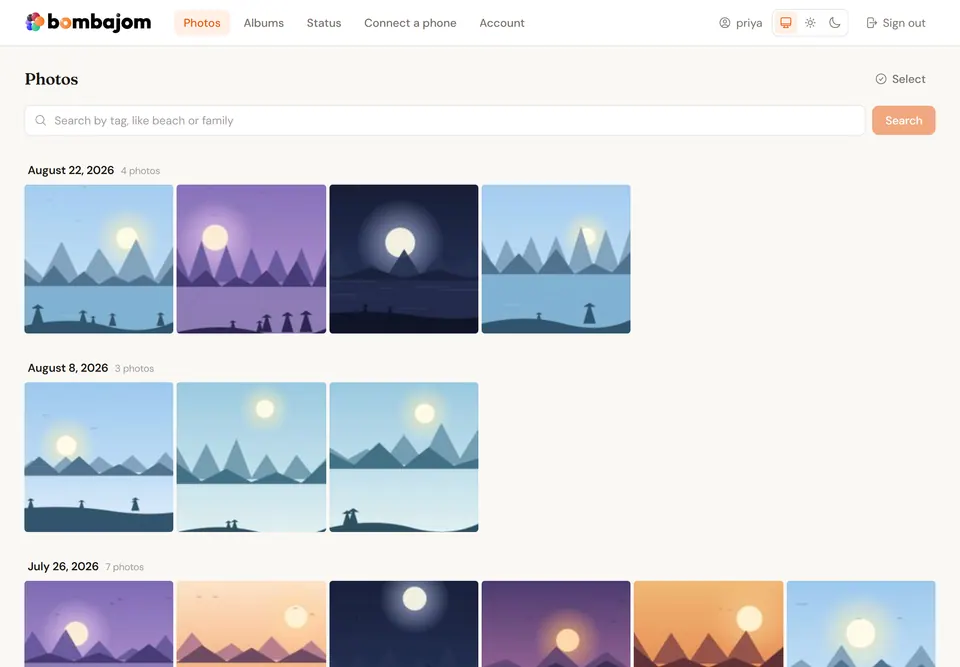
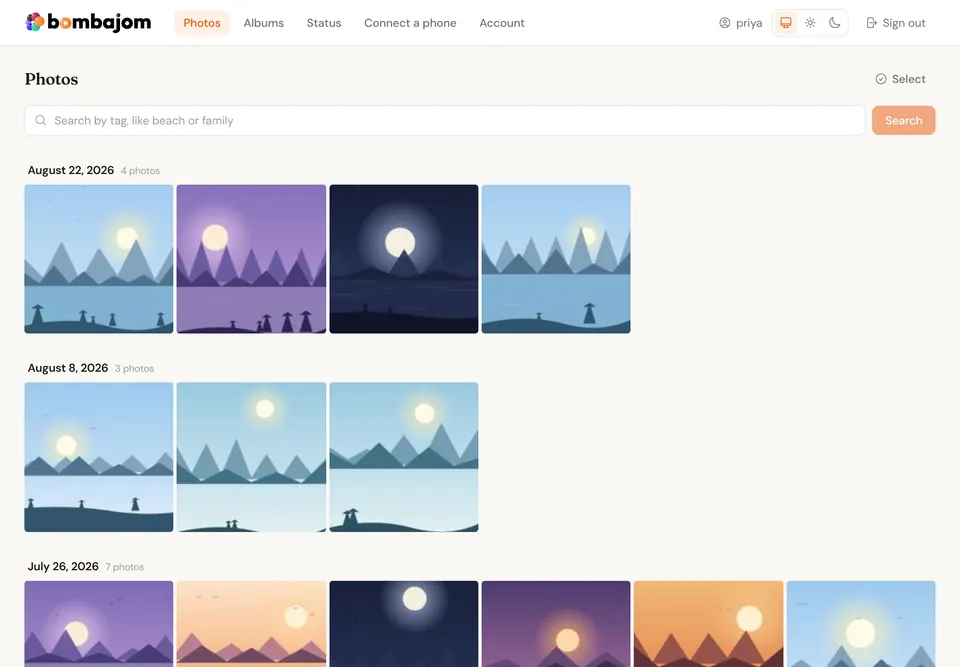
Browse your photos On your computer
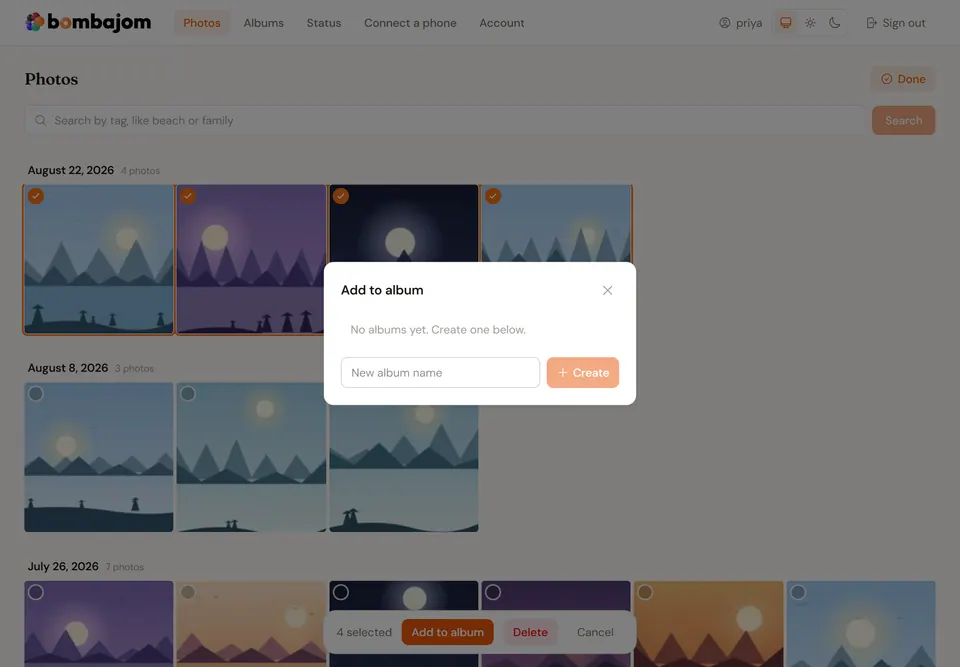
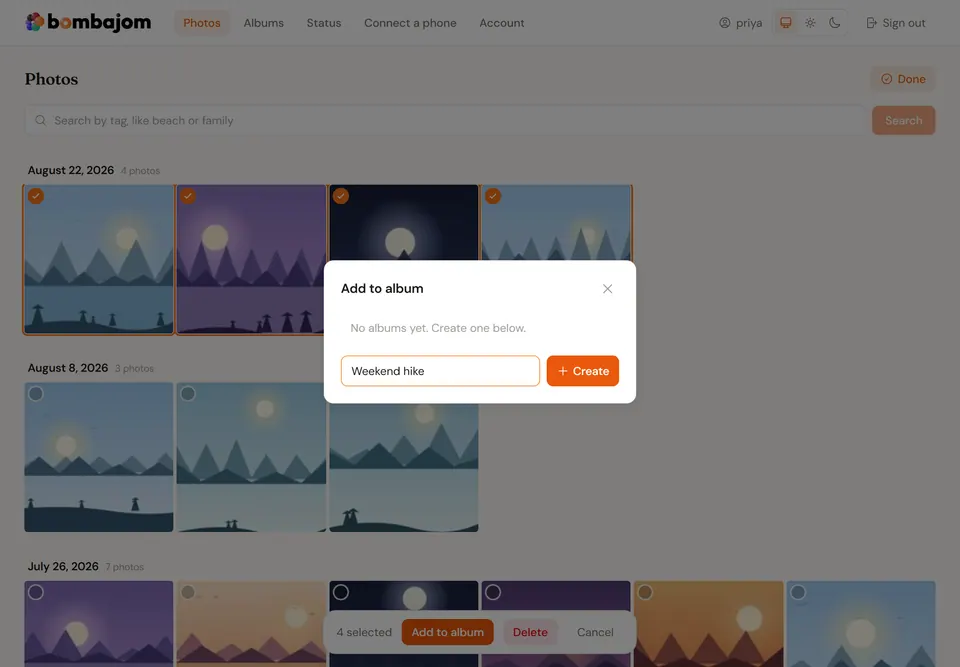
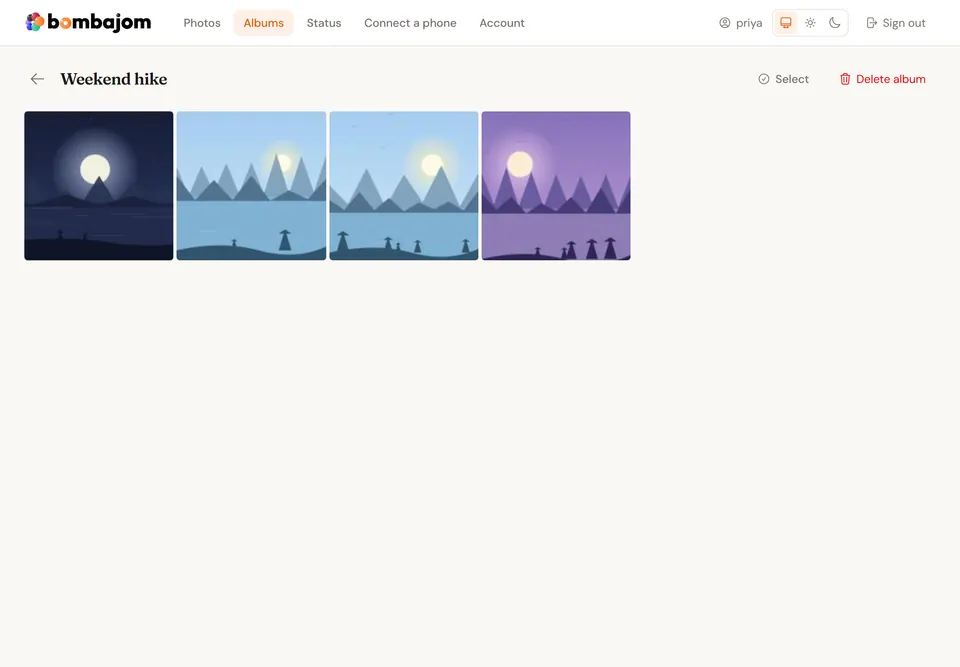
Create an album On your computer
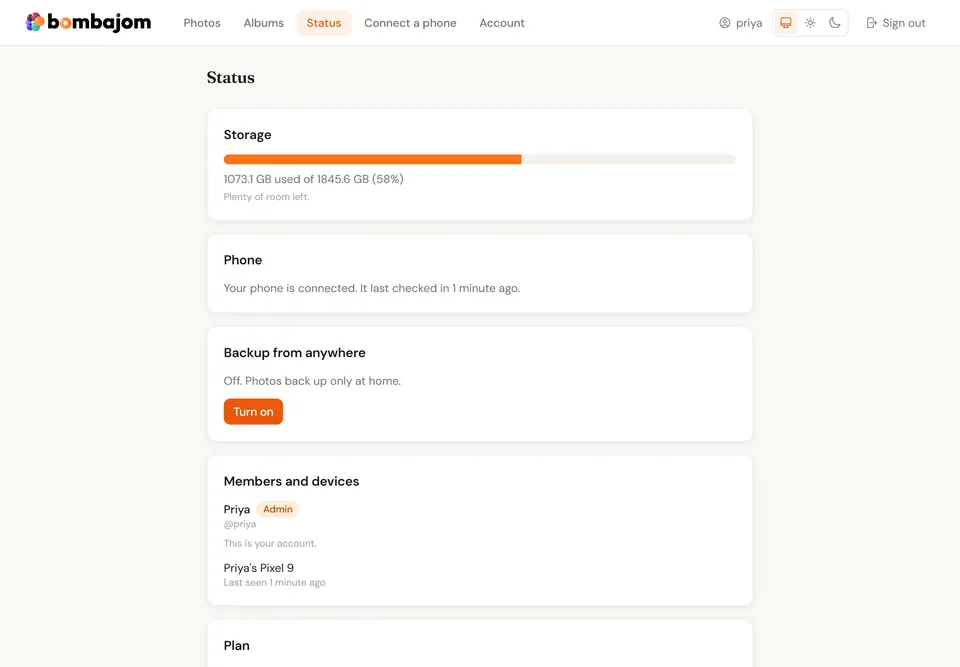
Check backup status On your computer
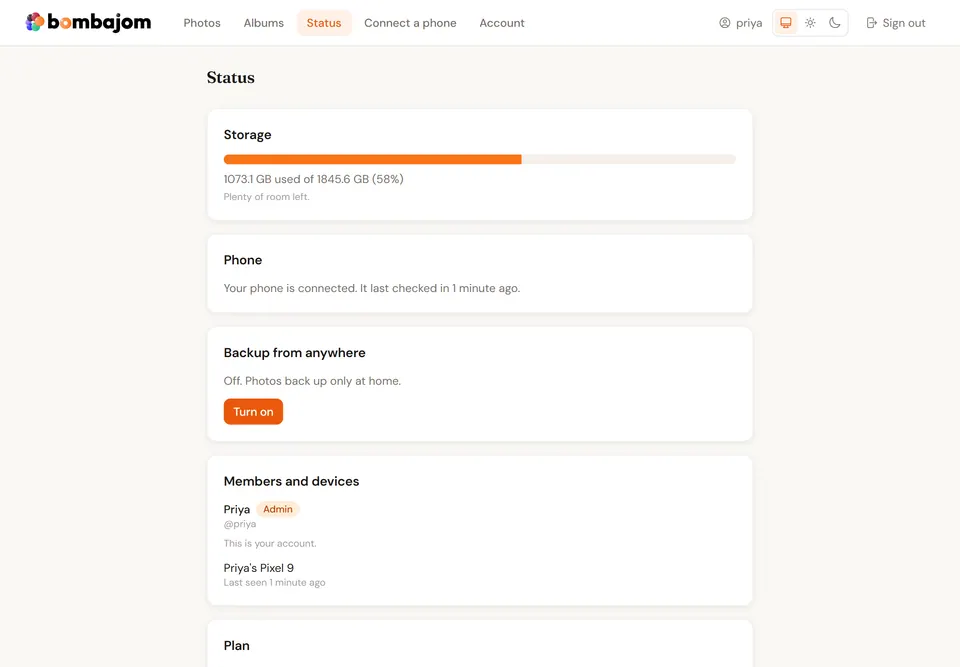
Manage your account On your computer
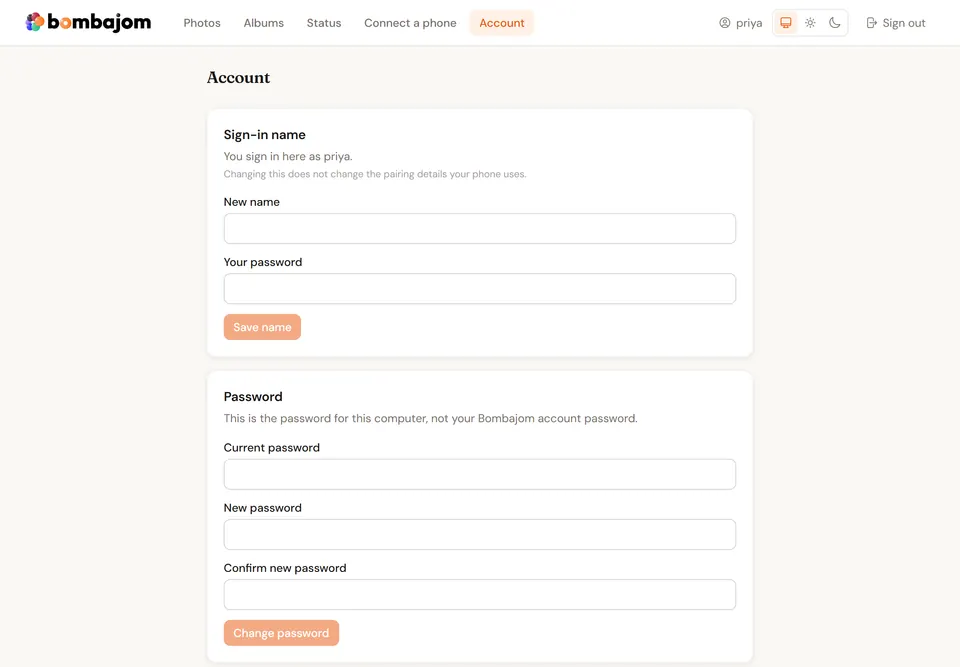
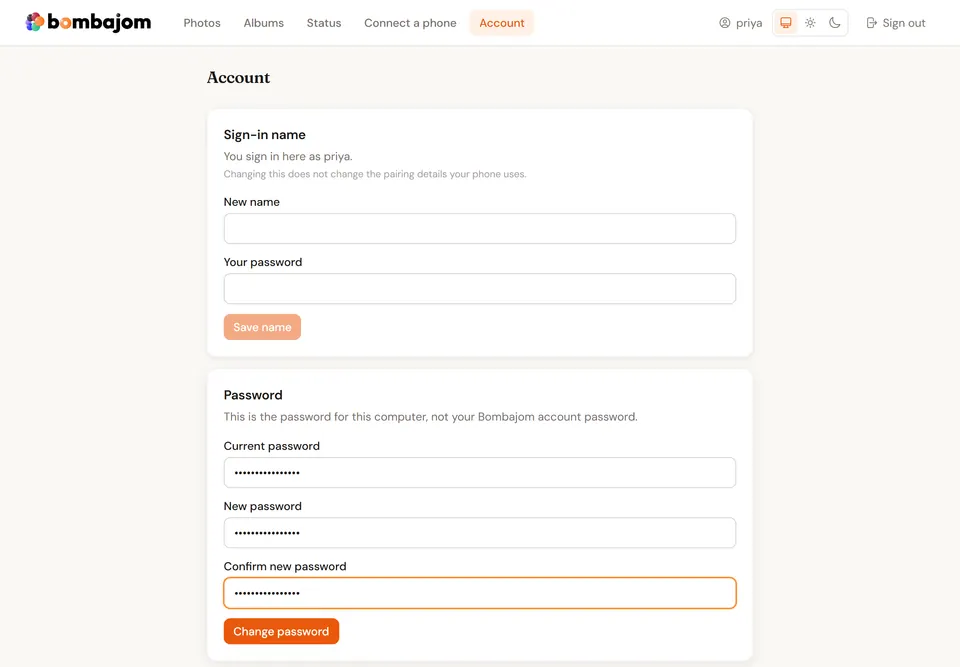
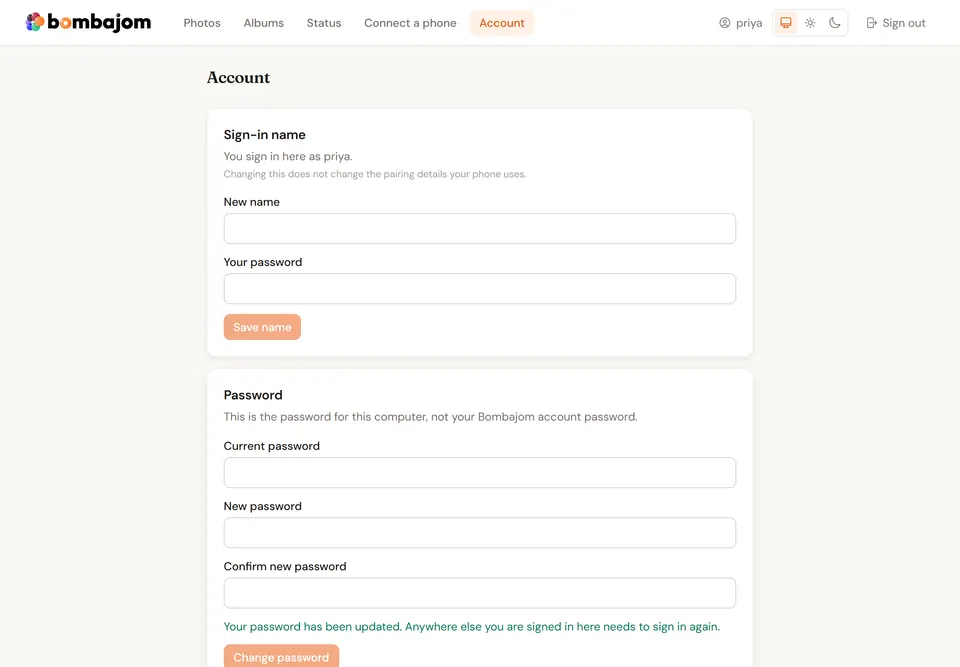
Invite your family from your computer On your computer
Get started on your phone On your phone
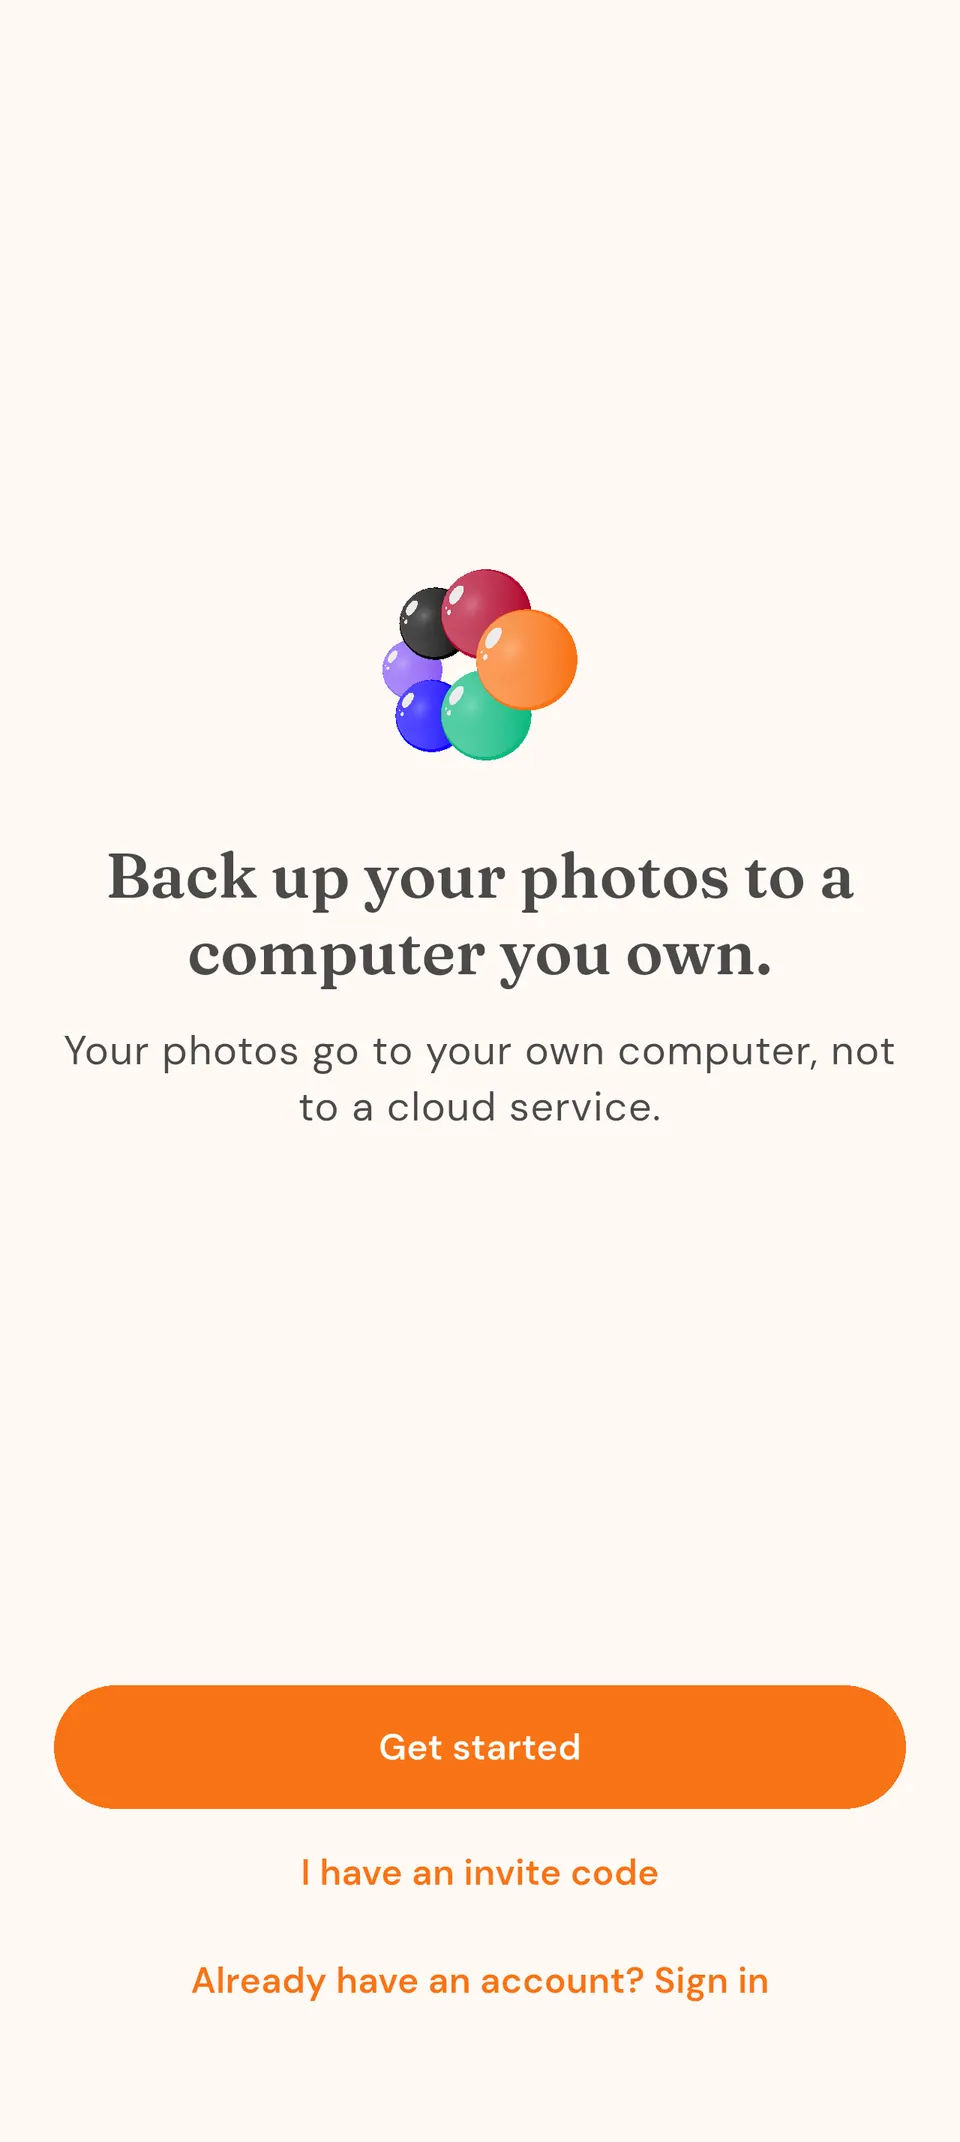
Browse photos on your phone On your phone
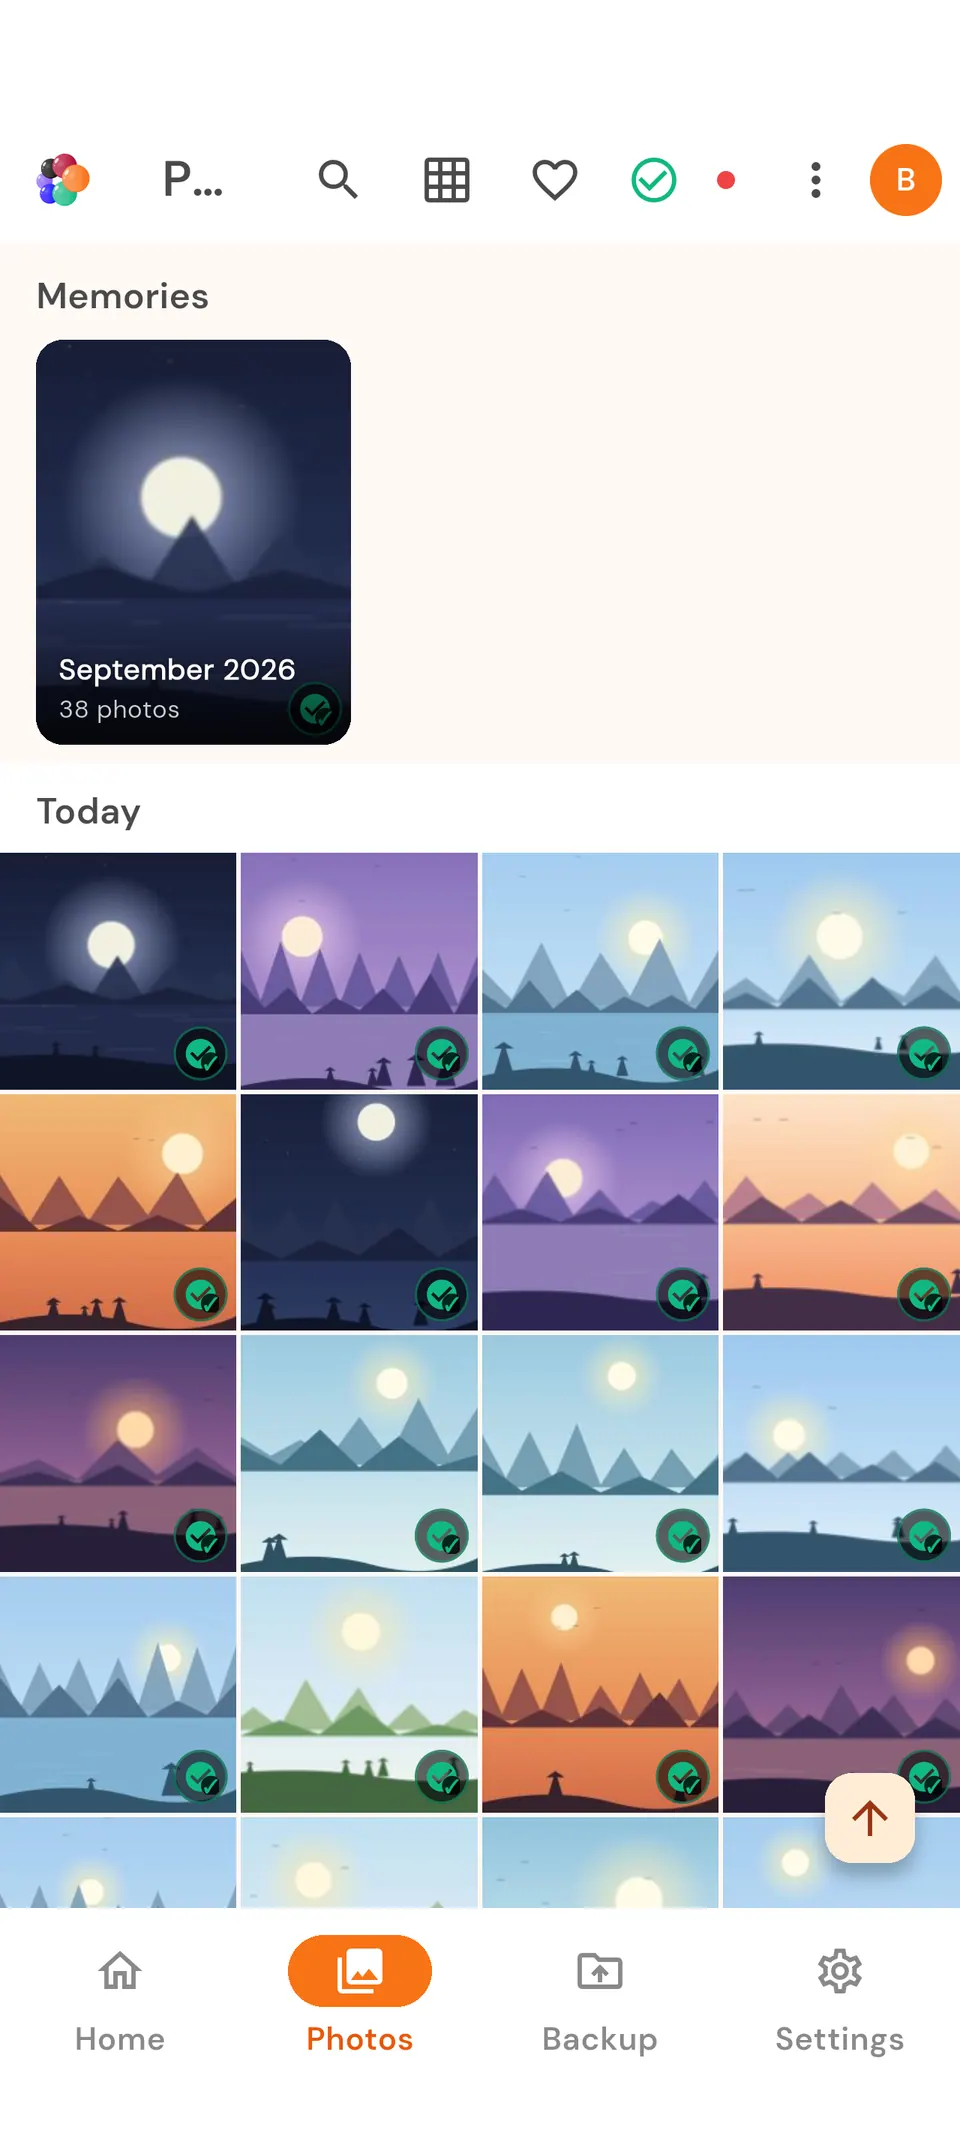
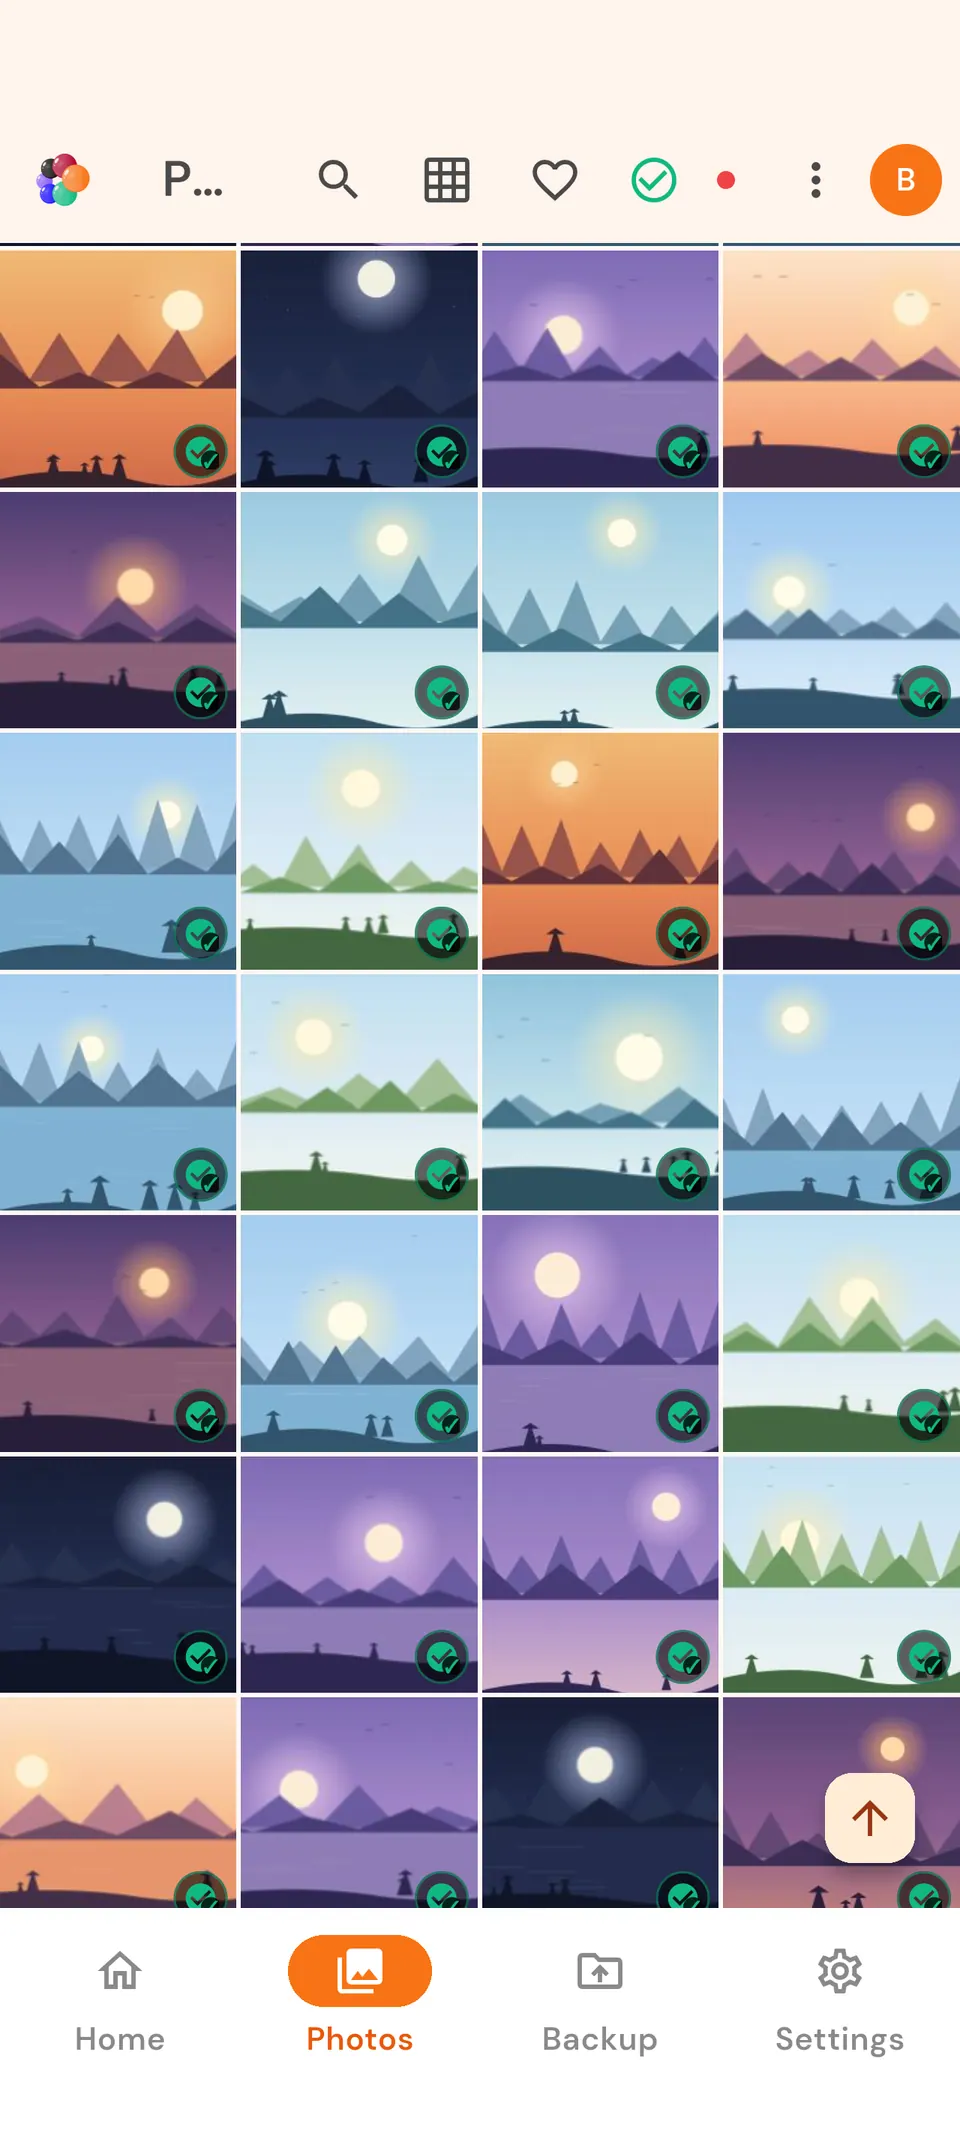
Back up your photos On your phone
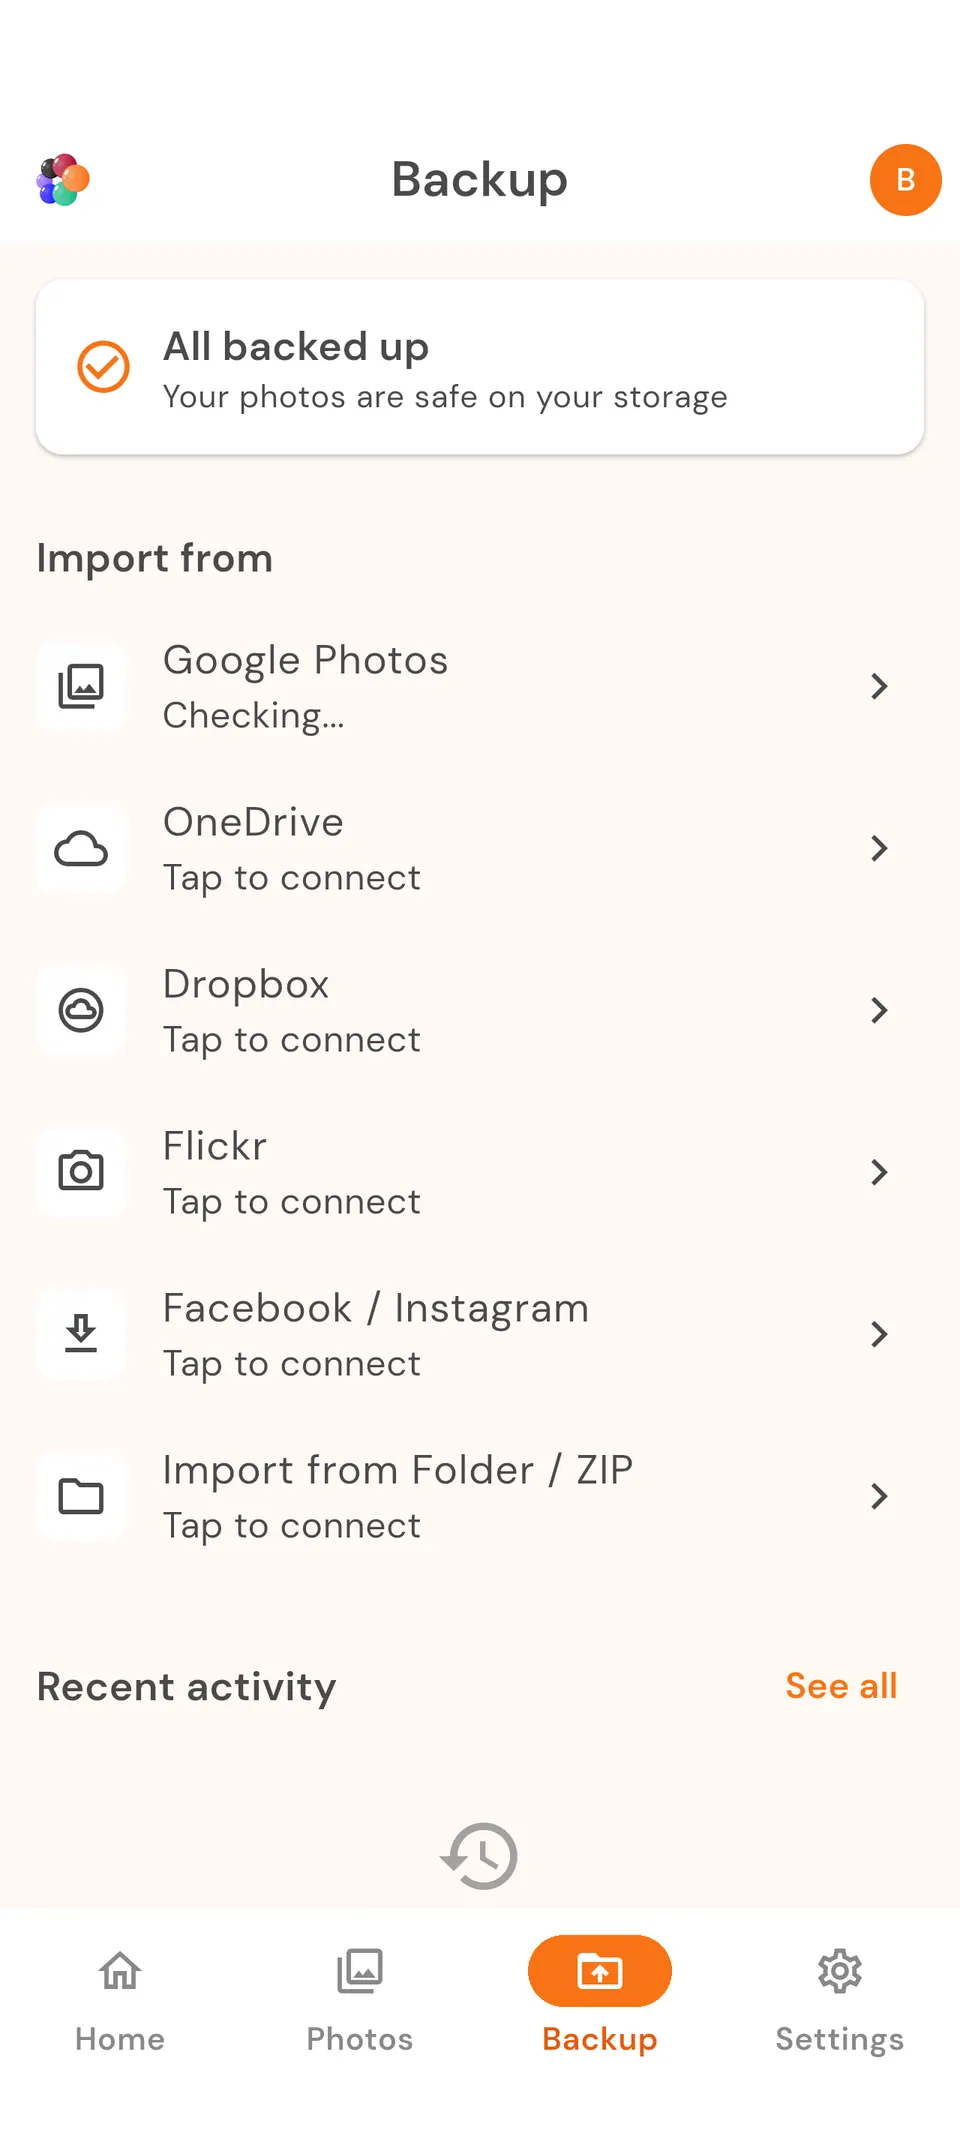
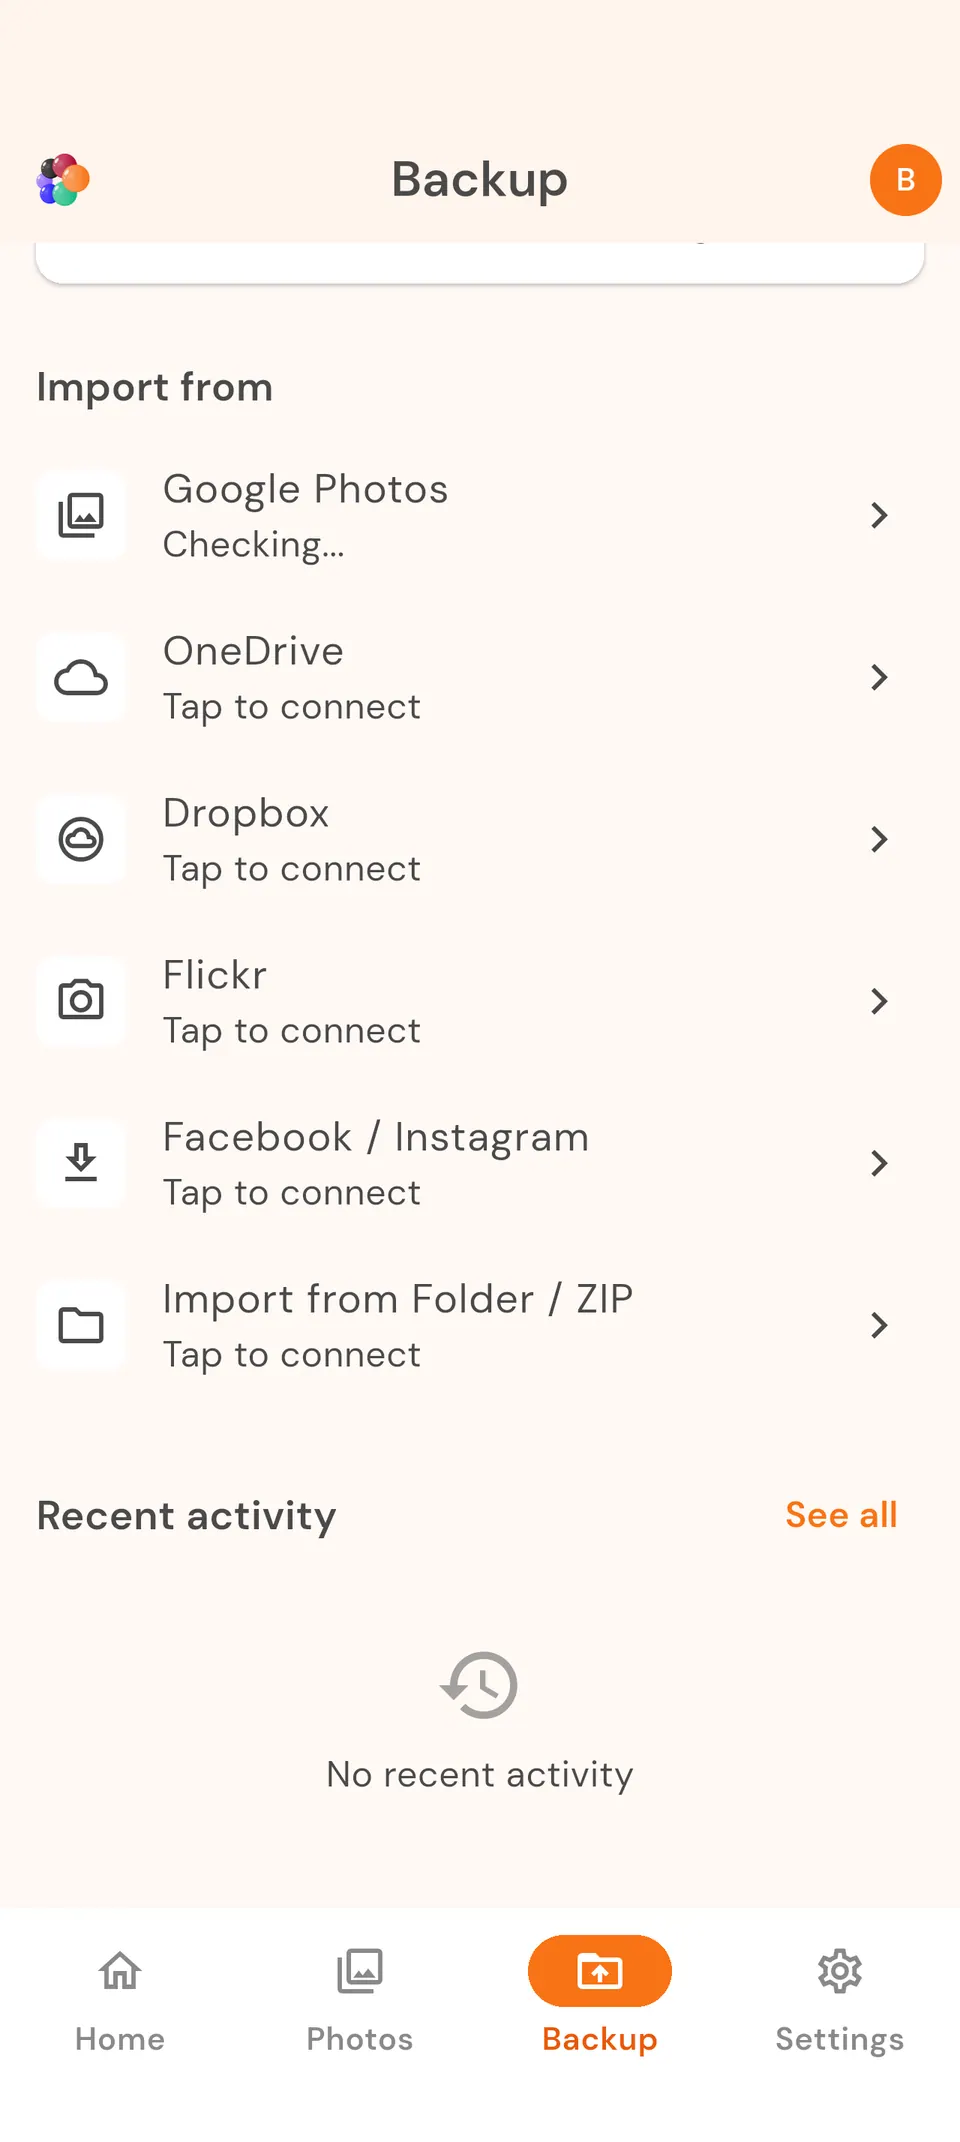
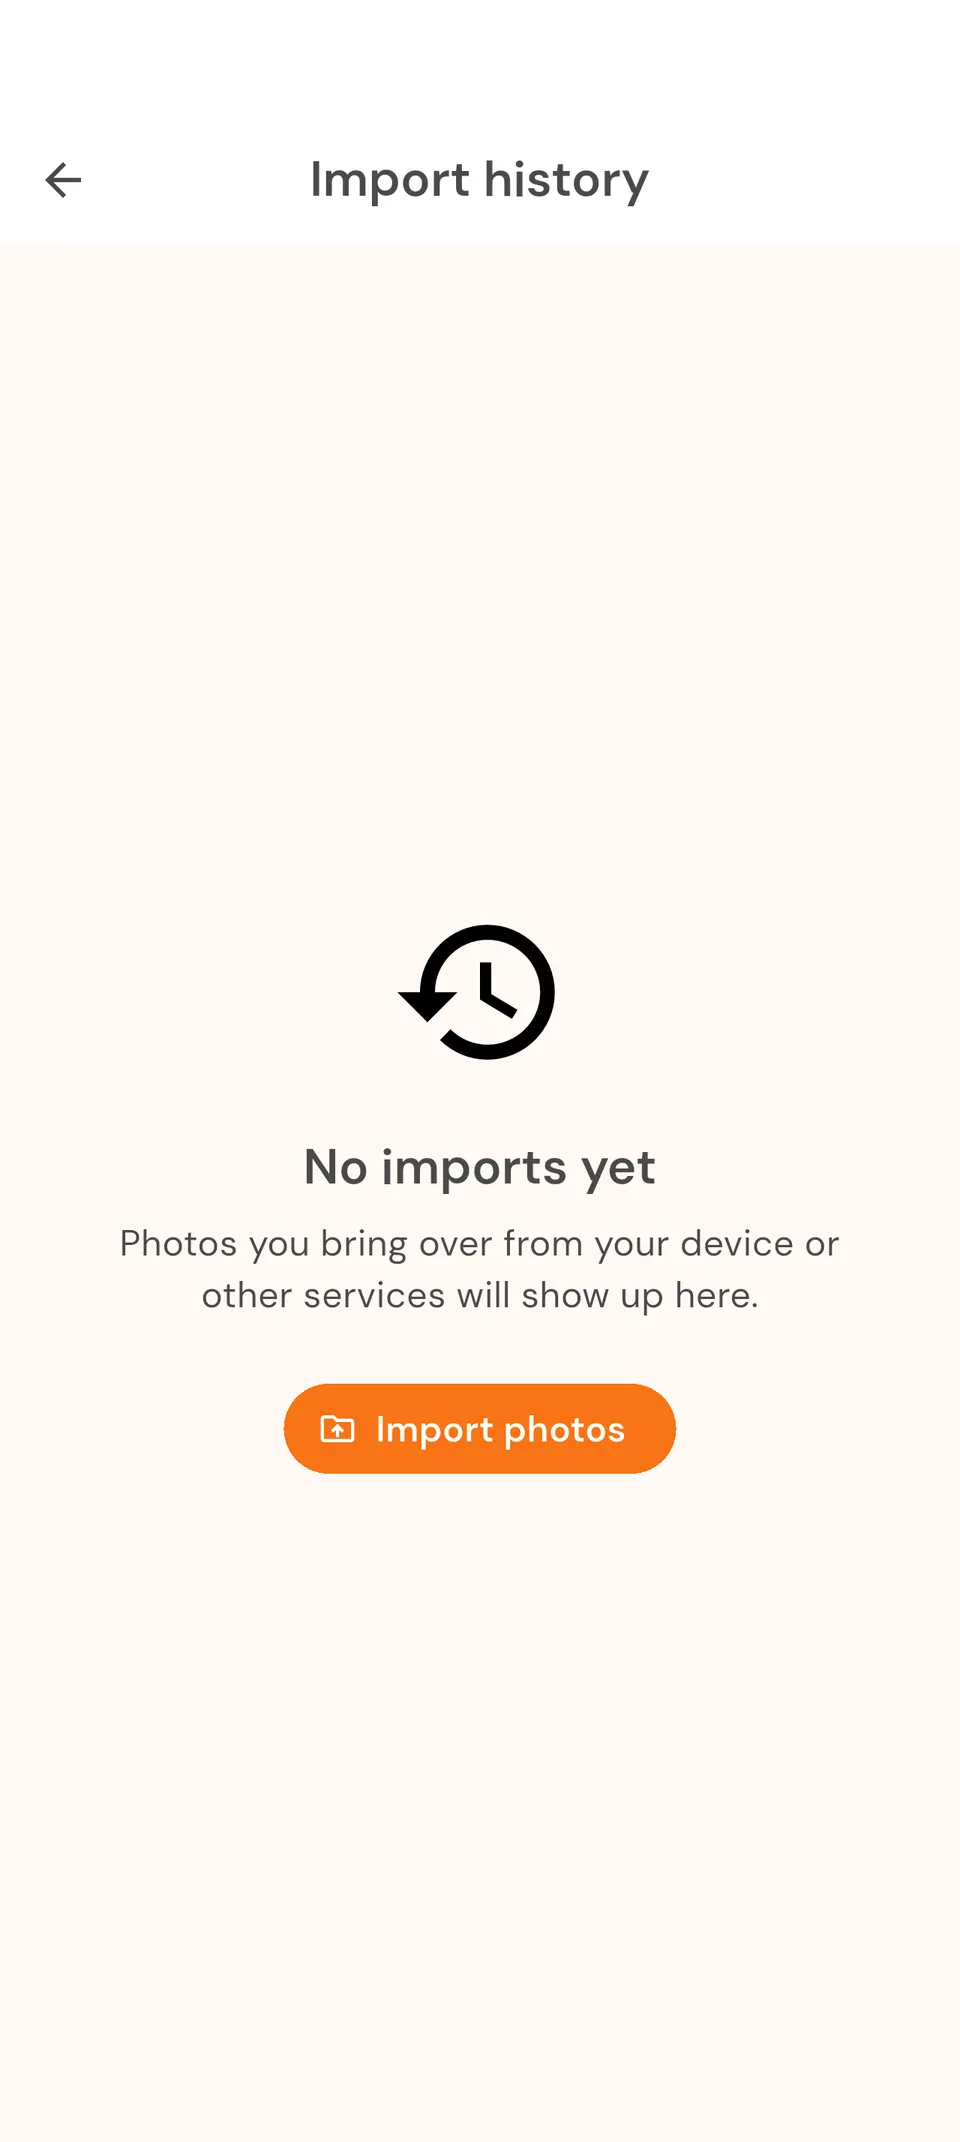
Adjust your settings On your phone
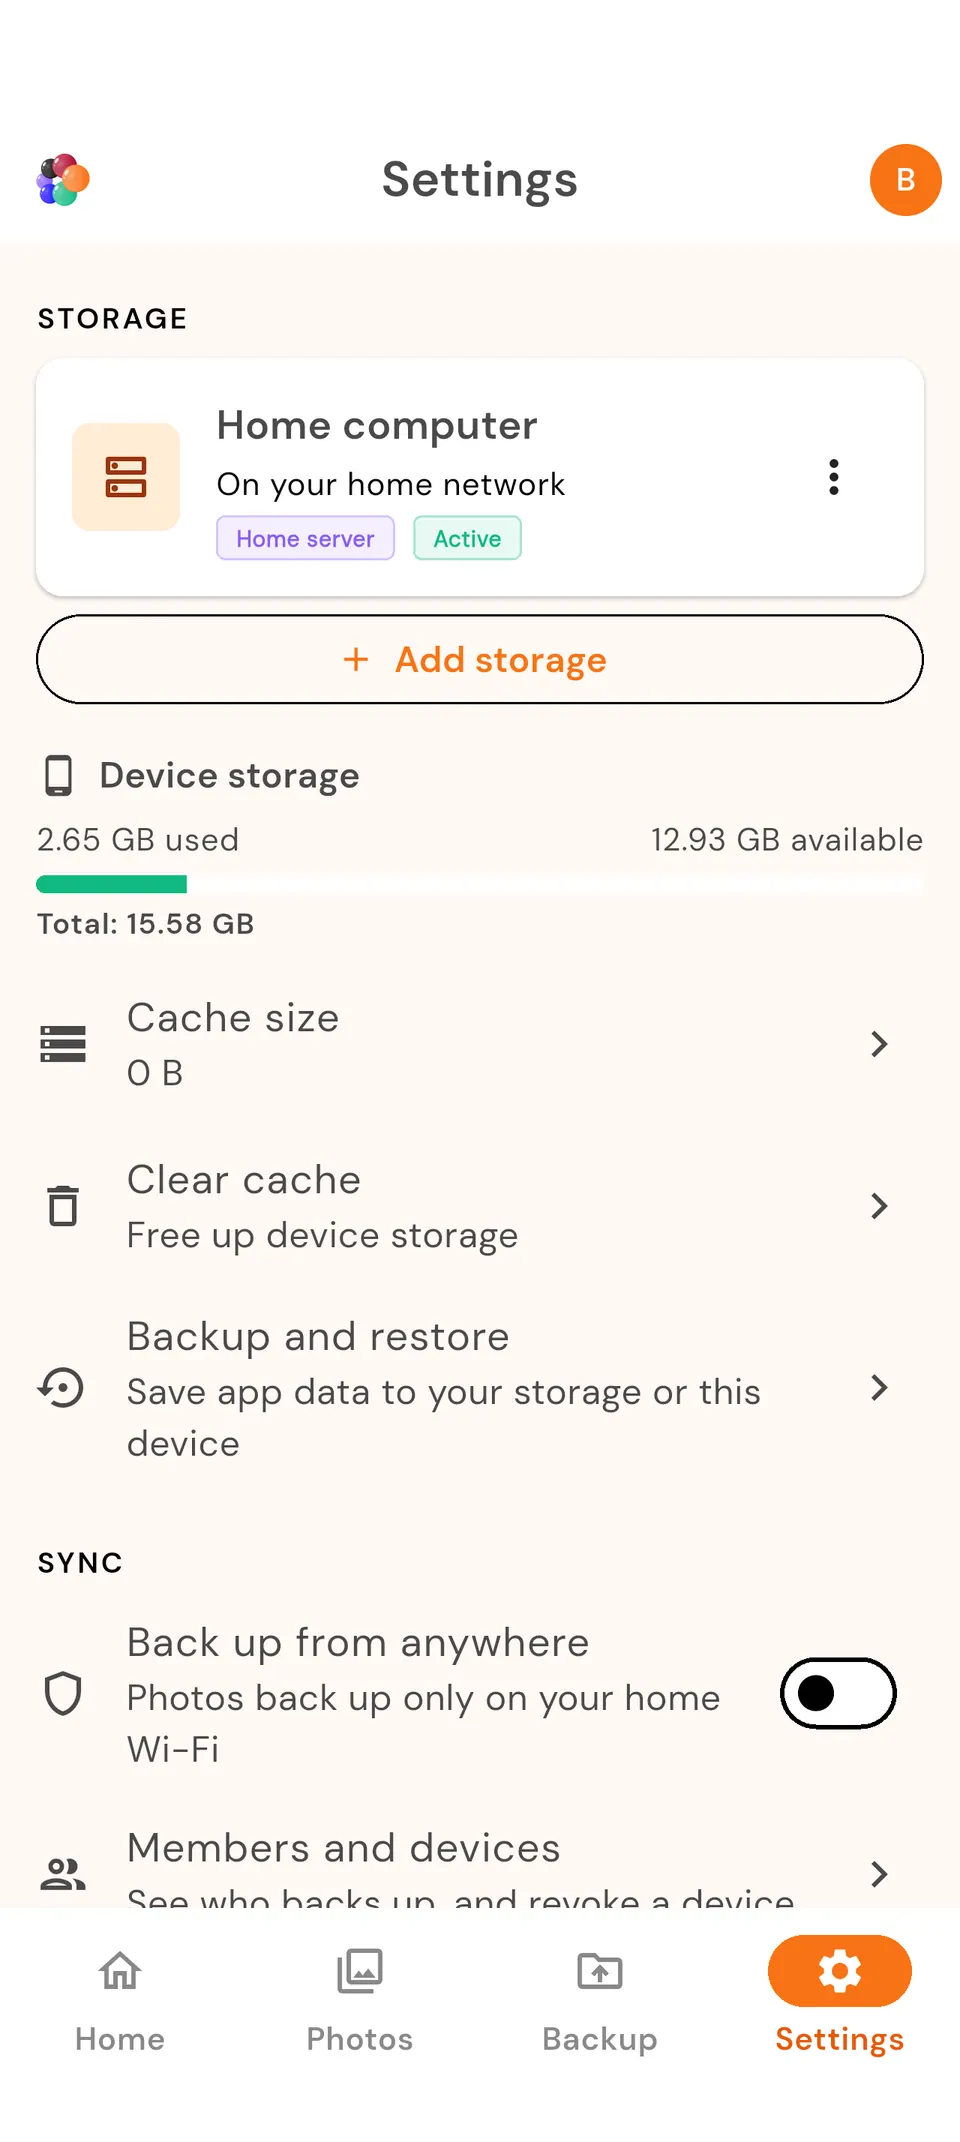
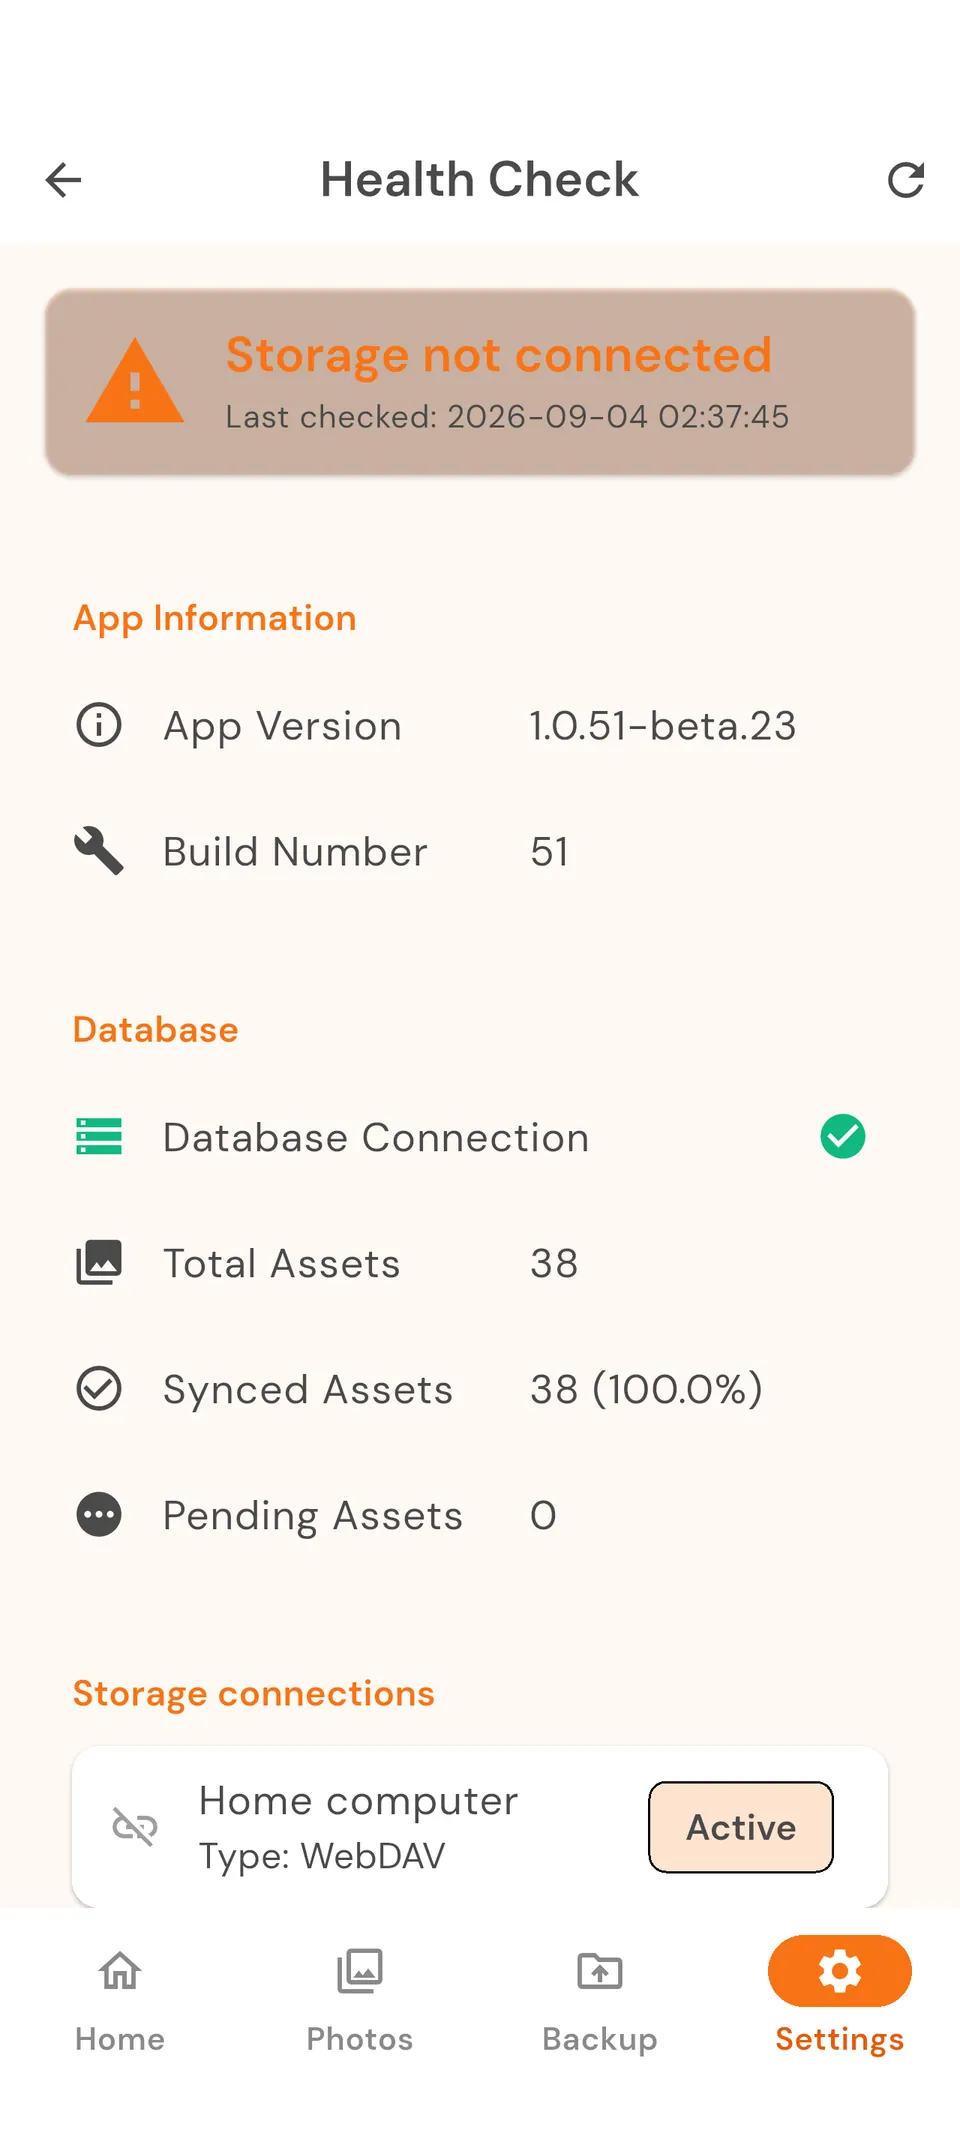
Pair your phone On your phone and computer
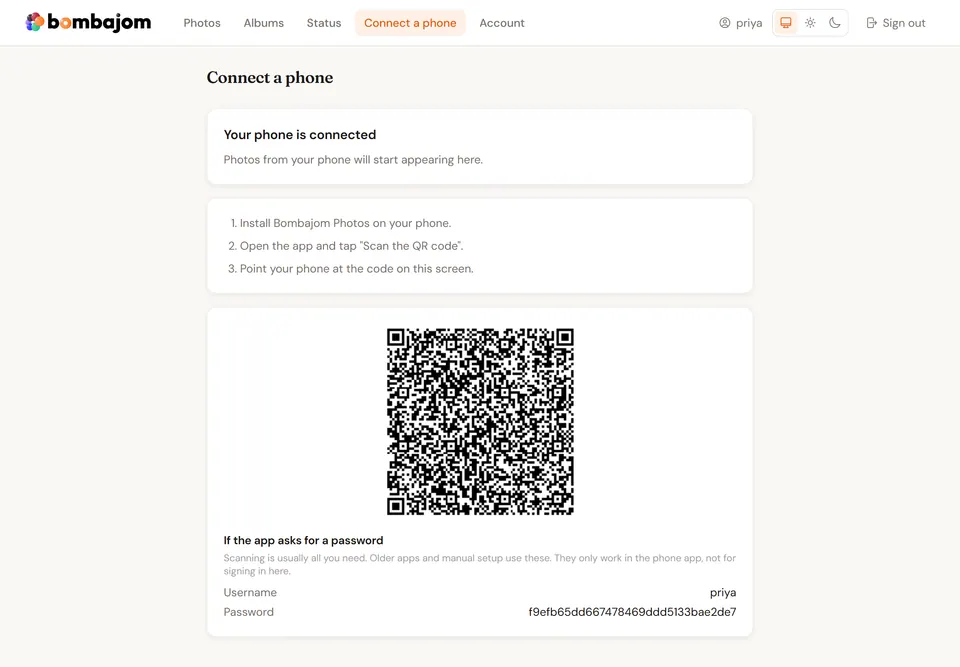
Share your plan with family On your phone
Set up Bombajom Photos On your phone
Installation
Get Bombajom Photos installed on your device in under a minute.
iPhone
-
Open the App Store
Look for the blue App Store icon on your home screen. -
Search for "Bombajom Photos"
Tap the search icon at the bottom, then type "Bombajom Photos". -
Download the app
Tap the "Get" or "Install" button next to Bombajom Photos. -
Wait for installation
The app will download and install automatically. This usually takes 30-60 seconds. -
Open the app
Once installed, tap "Open" or find the Bombajom Photos icon on your home screen.
Android
-
Open the Google Play Store
Look for the colorful Play Store icon on your home screen or app drawer. -
Search for "Bombajom Photos"
Tap the search bar at the top, then type "Bombajom Photos". -
Install the app
Tap the green "Install" button. -
Wait for installation
The app will download and install. Progress will be shown in a notification. -
Open the app
Tap "Open" when installation completes, or find the Bombajom Photos icon.
iPhone: iOS 15.5 or later
Android: Phone or tablet running Android 7.0 or later
External Drive Setup
The easiest way to start backing up your photos. Plug a USB external drive into your computer, install Bombajom Server (our small helper app), and you're ready to go. No network setup needed.
What You'll Need
- A USB external hard drive (Seagate, WD, Samsung, Toshiba, LaCie, or any brand)
- A computer (Windows or Mac) to plug the drive into
- A USB cable (usually included with your drive)
- Your phone and computer on the same WiFi network
Step-by-Step Setup
- Plug in your drive. Connect your USB external drive to your computer. It should appear as a new drive in File Explorer (Windows) or Finder (Mac).
- Install Bombajom Server. Download it from our download page. Installers are available for Windows and Mac.
- Pick your drive in the server. When Bombajom Server starts for the first time, it shows a "Choose Backup Folder" screen. Your external drive will appear at the top of the list with its name and available space. Select it.
- Scan the QR code. The server displays a QR code. Open the Bombajom Photos app on your phone, tap "Scan a setup QR code," and point your camera at the screen. That's it. Your photos start syncing automatically.
Supported Drives
Bombajom works with any USB external drive formatted as exFAT, NTFS, HFS+, APFS, or ext4. Popular drives that work great:
- Seagate: Backup Plus, One Touch, Expansion
- WD (Western Digital): My Passport, Elements, My Book
- Samsung: T7, T9 portable SSDs
- Toshiba: Canvio Advance, Canvio Basics
- LaCie: Rugged, Mobile Drive
Brand-Specific Notes
Seagate drives
Seagate drives often come with "Seagate Dashboard" or "Seagate Toolkit" software pre-installed. You don't need it. Bombajom replaces it entirely, so you can safely ignore or uninstall the Seagate software. Most Seagate drives ship formatted as exFAT, which works perfectly.
WD (Western Digital) drives
WD drives may include "WD Discovery" or "WD Backup" software. You don't need it. If your WD My Passport has hardware encryption enabled, you'll need to unlock the drive with WD's software before Bombajom can write to it.
Samsung portable SSDs
Samsung T7 and T9 drives are excellent choices (faster than traditional hard drives). If you've set a password via Samsung Magician, unlock the drive first. Samsung Magician is optional, and Bombajom doesn't require it.
Toshiba Canvio
Toshiba Canvio drives are straightforward: no special software needed. Plug in and go.
Troubleshooting
First Time Setup
This guide walks through the full setup wizard, including connecting to a NAS. Using an external drive or your computer? External Drive Setup above is shorter: install the helper app and scan a QR code.
Step 1: Welcome Screen
When you first open Bombajom Photos, you'll see a welcome screen explaining what the app does.
- Read through the introduction
- Tap "Get Started" to begin setup
Step 2: Permissions
The app needs permission to access your photos and connect to your local network.
iOS Permissions
- Photo Library Access
- When prompted, tap "Allow Access to All Photos"
- This lets Bombajom Photos see which photos need backing up
- Bombajom deletes a photo only when you ask it to
- Local Network Access
- When prompted, tap "Allow"
- Required to find and connect to your NAS
- No internet is needed for this. Discovery happens entirely on your home WiFi.
Android Permissions
- Photos and Media Access
- Tap "Allow" when prompted
- Needed to read your photos for backup
- Notification Permission
- Tap "Allow" for notifications
- Keeps you informed about backup progress
Step 3: Discover Your NAS
Bombajom Photos will automatically search for NAS devices on your network.
Automatic Discovery
- Wait 5-10 seconds for the scan to complete
- Your NAS should appear in the list with its name (e.g., "Synology-DS920")
- Tap your NAS to select it
Manual Entry (If Not Found)
If your NAS doesn't appear automatically:
- Tap "Enter manually" at the bottom
- Fill in the connection details:
- Host: Your NAS IP address or hostname (e.g.,
192.168.1.100ormynas.local) - Connection type: Leave as the default (recommended), or choose an alternative if your device requires it
- Port: Leave as default unless your device uses a custom port
- Host: Your NAS IP address or hostname (e.g.,
- Tap "Continue"
Not sure of your storage's address? The Synology and QNAP guides show where to find it.
Step 4: Enter Credentials
Enter your NAS login information.
- Username: Your NAS account username
- Password: Your NAS account password
- Tap "Test connection" to verify
- If successful, tap "Save"
Step 5: Choose Storage Folder
Select where on your NAS you want photos stored.
- Select Existing Folder: Choose from your NAS shared folders
- Create New Folder: Let the app create a "Bombajom Photos" folder
- Use Recommended: Use the default photos folder (varies by NAS)
Step 6: Choose How Photos Are Organized
Pick how your photos are arranged in your backup folder. You can change this later in Settings.
Folder Organization
- Year / month:
/2026/01/photo.jpg(organized, easy to find) - Year / month / day:
/2026/01/15/photo.jpg(very organized) - Year / month name:
/2026/January/photo.jpg - Year only:
/2026/photo.jpg - No folders: All photos in one folder (simple, but can get cluttered)
Other Sync Options
After setup, you can adjust how the app syncs in Settings:
- WiFi only: Only sync when on WiFi (recommended)
- Auto sync: Back up new photos automatically
- Sync videos: Turn off to back up photos only (in newer versions of the app this is "Back up videos", under Settings > Sync > What to back up)
Step 7: Start Your First Backup
You're all set. Time to back up your photos.
- Tap "Start using Bombajom Photos" to finish the wizard. Your backup starts automatically.
- Watch the progress as photos upload
- First backup may take a while depending on how many photos you have
- A large first backup happens in steps. Keeping the app open finishes it fastest.
Want to run a backup by hand? Tap "Sync now" in the gallery anytime.
- Keep your phone plugged in during the first backup
- Stay on WiFi and don't switch networks
- Keep the app open or check back periodically
- Large libraries (10,000+ photos) may take several hours
Choosing Your Storage
The easiest place to keep your backups is a USB drive plugged into your computer. Want something that's always on? A NAS (a small storage device that lives on your home network, like a Synology or QNAP) works like your own personal cloud, except the data stays in your house. Here are our recommendations for getting started.
USB External Drives (Under $100)
The simplest option. Plug it into your computer and you're ready to go.
- Seagate One Touch 2TB: ~$55. Compact, reliable, works with Windows and Mac.
- WD My Passport 2TB: ~$55. Slim, bus-powered, hardware encryption available.
- Samsung T7 1TB: ~$80. Portable SSD, much faster than traditional hard drives.
- Toshiba Canvio Advance 2TB: ~$50. Budget-friendly, no-frills reliability.
Best for: Individuals or couples. Great if you want the simplest possible setup and don't need 24/7 availability (your computer needs to be on to sync).
Budget-Friendly Options (Under $200)
- Synology DS124: Single-bay, great for individuals. Easy to set up with DiskStation Manager.
- TerraMaster F2-212: Dual-bay at a low price point. Good value for families.
- Raspberry Pi + External Drive: The DIY option. Run OpenMediaVault for a low-cost NAS.
Recommended for Families (Under $400)
- Synology DS224+: Dual-bay, excellent software, our top pick for most families.
- QNAP TS-233: Dual-bay with good multimedia features.
What to Look For
- Standard file sharing support: Required for Bombajom Photos (all major NAS brands support this)
- At least 1 drive bay: 2 bays recommended for data redundancy (RAID 1 mirroring)
- Gigabit Ethernet: For fast local transfers
Don't Want to Buy a NAS?
The easiest option is a USB external drive plugged into your computer. Bombajom Server, our small helper app, handles everything automatically. If you'd rather share a folder without the helper app, any computer on your network that can share folders also works.
NAS Setup
Before connecting Bombajom Photos, you'll need to ensure your NAS is properly configured.
Protocol Support
Bombajom Photos supports two protocols:
- SMB (Samba) - The most common file sharing protocol. Recommended for most users.
- WebDAV - HTTP-based protocol. Useful if SMB is blocked or unavailable.
Creating a Dedicated User (Recommended)
For security, we recommend creating a dedicated user account for Bombajom Photos:
- Create a new user (e.g., "photos-backup")
- Create a shared folder for photos
- Give the new user read/write access to only that folder
- Use these credentials in the app
Synology NAS Setup Guide
This guide walks you through setting up your Synology NAS for Bombajom Photos.
Prerequisites
- Synology NAS running DSM 6.2 or later (DSM 7.x recommended)
- Admin access to your Synology NAS
- NAS connected to your home network
Step 1: Enable SMB Service
-
Open DSM
Access your Synology NAS web interface (usuallyhttp://synology.local:5000or your NAS IP) -
Go to Control Panel
Click the Control Panel icon in the top-left corner -
Open File Services
Click "File Services" under the "File Sharing" section -
Enable SMB
Go to the "SMB" tab and check "Enable SMB service" -
Configure SMB Settings
Set "Minimum SMB protocol" to SMB2 or SMB3 (SMB1 is not supported for security) -
Save Settings
Click "Apply" at the bottom
Step 2: Create a Shared Folder for Photos
-
Open Shared Folder Settings
In Control Panel, go to "Shared Folder" -
Create New Folder
Click the "+" or "Create" button -
Folder Name
Name it something like "Photos", "BombajomPhotos", or "PhotoBackup" -
Choose Location
Select which volume to store the folder on (usually "volume1") -
Enable Encryption (Optional)
Check "Encrypt shared folder" if you want extra security -
Configure Permissions
For now, give your admin user full access. We'll create a dedicated user next. -
Finish
Click "Apply" to create the folder
Step 3: Create a Dedicated Backup User (Recommended)
For security, create a user account specifically for Bombajom Photos with limited permissions.
-
Open User & Group
In Control Panel, go to "User & Group" -
Create New User
Click "Create" → "User" -
Set Username
Enter a username likephotos-backuporbombajom -
Set Password
Choose a strong password (store it somewhere safe) -
Skip Groups
Click "Next" (we'll set permissions directly) -
Configure Permissions
Under "Shared Folder", find your Photos folder and set permission to "Read/Write" -
Deny Other Folders
Ensure "No access" for all other shared folders (for security) -
Complete setup
Click "Next" through remaining screens, then "Apply"
Step 4: Configure Advanced Settings (Optional)
Enable SMB Encryption
- Go to Control Panel → File Services → SMB
- Check "Enable transport encryption"
- This encrypts data in transit for extra security
Set Static IP (Recommended)
Prevent connection issues by giving your NAS a static IP:
- Go to Control Panel → Network
- Click "Network Interface"
- Select your network interface → "Edit"
- Choose "Use manual configuration"
- Set IP address (e.g.,
192.168.1.100) - Set subnet mask (usually
255.255.255.0) - Set gateway (your router IP, usually
192.168.1.1)
Step 5: Find Your NAS IP Address
You'll need your NAS IP address for manual connection if automatic discovery doesn't work.
Method 1: DSM Dashboard
- Log into DSM
- Look at the top-right corner of the window
- Your IP address is displayed there
Method 2: Synology Assistant
- Download Synology Assistant from Synology website
- Run it on your computer
- Your NAS will appear with its IP address
Method 3: Router Admin Page
- Access your router's admin page (usually
192.168.1.1or192.168.0.1) - Look for "Connected Devices" or "DHCP Clients"
- Find your Synology NAS in the list
Synology Photos Integration
If you use Synology Photos (DSM 7.x), you can integrate with it.
- Install "Synology Photos" package from Package Center if not already installed
- In Bombajom Photos, set your backup folder to
/photo - Photos will automatically appear in Synology Photos app
- You can access them from any device with Synology Photos installed
/photo/iPhone or /photo/Android as your folder path to separate photos by device in Synology Photos.
Testing Your Setup
Before connecting from Bombajom Photos, verify your setup:
- From a Windows computer: Open File Explorer → Type
\\synology-ipin address bar - From a Mac: Finder → Go → Connect to Server → Type
smb://synology-ip - Enter your credentials and verify you can see the Photos folder
- Try creating a test file to ensure write permissions work
Troubleshooting Synology-Specific Issues
"Cannot connect" with QuickConnect ID
- Bombajom Photos requires direct local network connection
- Use your NAS local IP address, not QuickConnect ID
- QuickConnect is for remote access, not local backups
"Permission denied" for /photo folder
- The default /photo folder has special permissions for Synology Photos
- Create a new shared folder instead, or
- Use /home
/username folder (accessible to your user)/photos
SMB not working after DSM update
- Go to Control Panel → File Services → SMB
- Verify SMB service is still enabled
- Check that minimum SMB protocol is still SMB2 or higher
- Restart SMB service if needed
QNAP NAS Setup Guide
Complete guide to configuring your QNAP NAS for Bombajom Photos.
Prerequisites
- QNAP NAS running QTS 4.4.1 or later (QTS 5.x recommended)
- Admin access to QTS
- NAS connected to your home network
Step 1: Enable SMB Service
-
Open QTS
Access your QNAP NAS web interface (usuallyhttp://qnap.local:8080or your NAS IP) -
Go to Control Panel
Click the Control Panel icon in the top menu -
Open Network Services
Navigate to "Network & File Services" → "Win/Mac /NFS /WebDAV" -
Enable Microsoft Networking
Go to "Microsoft Networking" tab and check "Enable Microsoft network service" -
Configure SMB Version
Set "Highest SMB version" to SMB3 for best performance and security -
Save Settings
Click "Apply" to save changes
Step 2: Create a Shared Folder
-
Open Shared Folders
Go to Control Panel → "Privilege" → "Shared Folders" -
Create New Folder
Click "Create" → "Shared Folder" -
Folder Name
Enter a name like "BombajomPhotos", "Photos", or "PhotoBackup" -
Select Volume
Choose which storage pool/volume to use -
Configure Access Rights
Set permissions - for now, give admin user access. We'll create a dedicated user next. -
Advanced Options (Optional)
Enable encryption, recycle bin, or quotas as needed -
Finish
Click "Create" to finish
Step 3: Create a Dedicated Backup User
-
Open User Settings
Go to Control Panel → "Privilege" → "Users" -
Create New User
Click "Create" → "Create a user" -
User Information
Enter username (e.g.,photos-backup) and password -
Set Permissions
Go to "Shared Folder Permissions" tab -
Grant Access
Find your Photos folder and set permission to "Read/Write" -
Deny Other Folders
Ensure all other folders are set to "No Access" (for security) -
Save User
Click "Apply" to create the user
Step 4: Configure WebDAV (Alternative to SMB)
If you prefer WebDAV or SMB isn't working, you can use WebDAV instead:
-
Enable WebDAV
Go to Control Panel → "Applications" → "WebDAV" -
Enable Service
Check "Enable WebDAV" -
Set Port
Note the port number (default: 8080 for HTTP, 8081 for HTTPS) -
Configure HTTPS (Recommended)
Enable "Enable secure connection (HTTPS)" if available -
Set User Permissions
Configure which users can access WebDAV -
In Bombajom Photos
Use URL format:https://qnap-ip:8081/Photos
Step 5: Find Your QNAP IP Address
Method 1: QTS Dashboard
- Log into QTS
- Check the main dashboard - IP address is shown in system info
Method 2: Qfinder Pro
- Download Qfinder Pro from QNAP website
- Run it on your computer
- Your QNAP NAS will appear with its IP address
Method 3: Router Admin Page
- Access your router's admin interface
- Look for "Connected Devices" or "DHCP Clients"
- Find your QNAP NAS in the list
Troubleshooting QNAP-Specific Issues
"Connection timeout" when connecting
- Verify SMB service is running: Control Panel → Network Services → Check service status
- Check firewall settings: Control Panel → Security → Firewall
- Ensure port 445 (SMB) isn't blocked
"Authentication failure" with AD/LDAP account
- Try using a local QNAP account instead of AD/LDAP
- AD accounts may require domain prefix (e.g.,
DOMAIN\username) - Create a dedicated local user for Bombajom Photos
SMB performance is slow
- Ensure SMB3 is enabled (not SMB2)
- Check NAS CPU and disk usage - may be under heavy load
- Try connecting via 5GHz WiFi if using 2.4GHz
- Consider using WebDAV instead if issues persist
Nextcloud Setup Guide
Use Bombajom Photos with your Nextcloud server for cloud-like photo backup.
Prerequisites
- Nextcloud server (self-hosted or cloud instance)
- WebDAV enabled (usually enabled by default)
- Your Nextcloud username and password (or app password)
Step 1: Get Your Nextcloud WebDAV URL
Your WebDAV URL follows this format:
https://your-nextcloud.com/remote.php/dav/files/USERNAME/To find it:
- Log into Nextcloud web interface
- Click your profile picture (top right) → Settings
- Scroll to "WebDAV" section
- Your WebDAV URL is displayed there
Step 2: Create App Password (If Using 2FA)
If you have two-factor authentication enabled, you'll need an app-specific password:
- Go to Settings → Security
- Scroll to "Devices & sessions"
- Click "Create new app password"
- Name it "Bombajom Photos"
- Copy the generated password (you won't see it again)
- Use this password in Bombajom Photos instead of your regular password
Step 3: Create a Photos Folder
- In Nextcloud, click "+" → "New folder"
- Name it "Photos" or "Bombajom Photos"
- Click the checkmark to create
Step 4: Configure Bombajom Photos
- In Bombajom Photos, tap "Add NAS" → "Enter manually"
- Under "Connection type (advanced)", choose "Web file sharing" (WebDAV)
- Host: Enter your Nextcloud domain (e.g.,
nextcloud.example.com) - Port: 443 for HTTPS (default)
- Path:
/remote.php/dav/files/USERNAME/Photos/ - Username: Your Nextcloud username
- Password: Your Nextcloud password or app password
- Tap "Test connection" → "Save"
Remote Access
Unlike SMB, WebDAV works over the internet, so you can back up photos even when not on your home network.
- Works on any WiFi network (home, work, coffee shop)
- Requires internet connection
- Data is encrypted in transit (HTTPS)
Troubleshooting Nextcloud
"WebDAV not working" error
- Verify WebDAV is enabled: Settings → Administration → Basic settings
- Check URL format - must end with your username:
/remote.php/dav/files/USERNAME/ - Ensure folder path is correct and folder exists
"Authentication failed"
- If using 2FA, you must use an app password, not your regular password
- Verify username is correct (case-sensitive)
- Check password doesn't have special characters that need encoding
Other NAS Systems
Bombajom Photos works with any NAS that supports SMB or WebDAV.
TrueNAS / FreeNAS
- Go to Sharing → Windows Shares (SMB)
- Click Add
- Select your dataset path
- Enable and configure as needed
Unraid
- Shares are enabled by default in Unraid
- Create a new share via Shares → Add Share
- Set security to "Private" and configure users
Raspberry Pi (Samba)
# Install Samba
sudo apt install samba

# Create photos directory
sudo mkdir -p /srv/photos
sudo chown pi:pi /srv/photos

# Edit Samba config
sudo nano /etc/samba/smb.conf

# Add to end of file:
[Photos]
  path = /srv/photos
  writeable = yes
  valid users = pi

# Set Samba password
sudo smbpasswd -a pi

# Restart Samba
sudo systemctl restart smbd
Generic SMB Connection
For any SMB-compatible NAS:
- Server: Your NAS IP address or hostname
- Share: The shared folder name
- Username: Your NAS username
- Password: Your NAS password
Sync Settings
Customize how Bombajom Photos backs up your media. You'll find these in the app under Settings.
Sync Toggles
- WiFi only: Only sync when connected to WiFi (recommended)
- Auto sync: Back up new photos without pressing anything: when you open the app, and on Android also in the background at home
- Sync videos: On by default. Turn off to back up photos only. In newer versions of the app, find this as "Back up videos" under What to back up in Settings > Sync, where you can also choose which albums go to your computer.
- Upload speed limit: Cap upload speed so backups don't slow down the rest of your network
Folder Organization
Choose how your photos are organized on your storage:
- Year / month:
/2026/01/photo.jpg - Year / month / day:
/2026/01/15/photo.jpg - Year / month name:
/2026/January/photo.jpg - Year only:
/2026/photo.jpg - No folders: All photos in one folder
Duplicate Handling
Nothing to configure here. When a file already exists on your storage, Bombajom Photos handles it automatically: identical files are skipped, and a different file that happens to share a name is kept side by side under a new name. Nothing is ever overwritten.
Share with your family
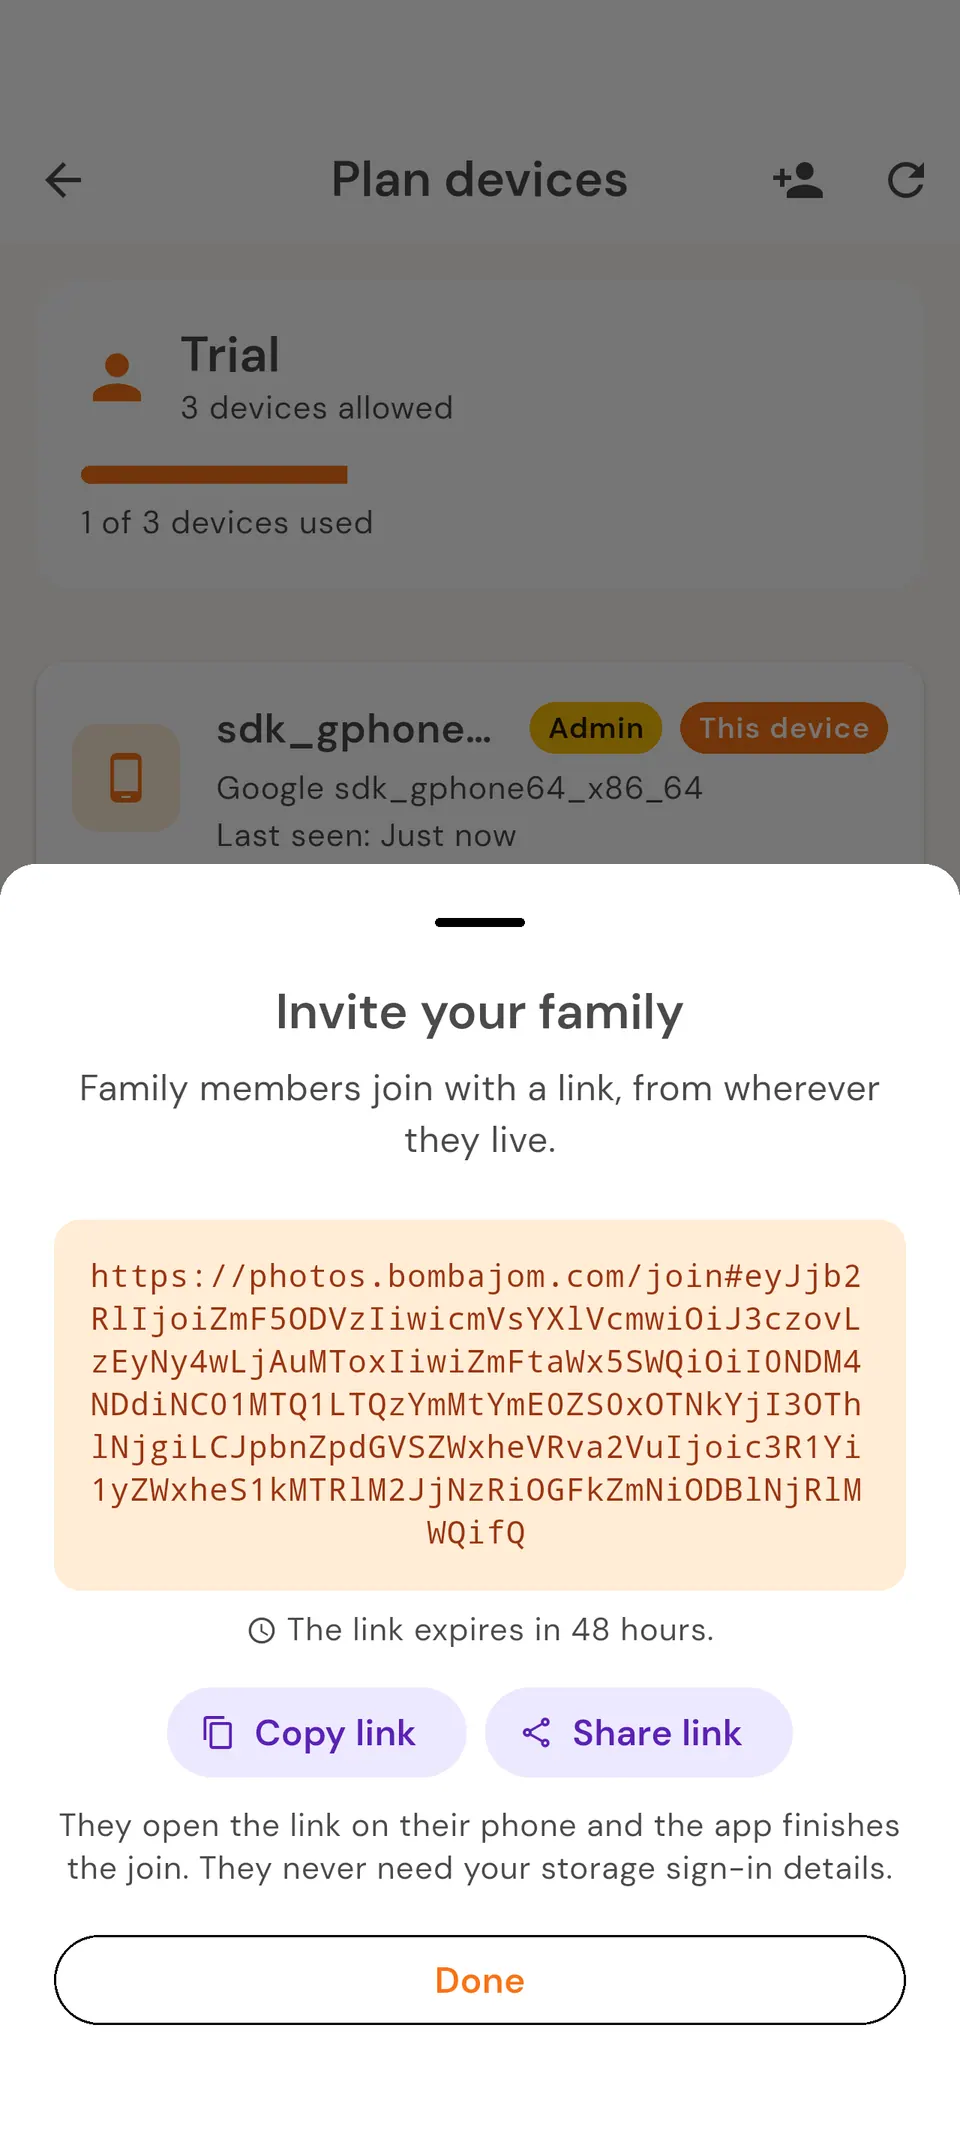
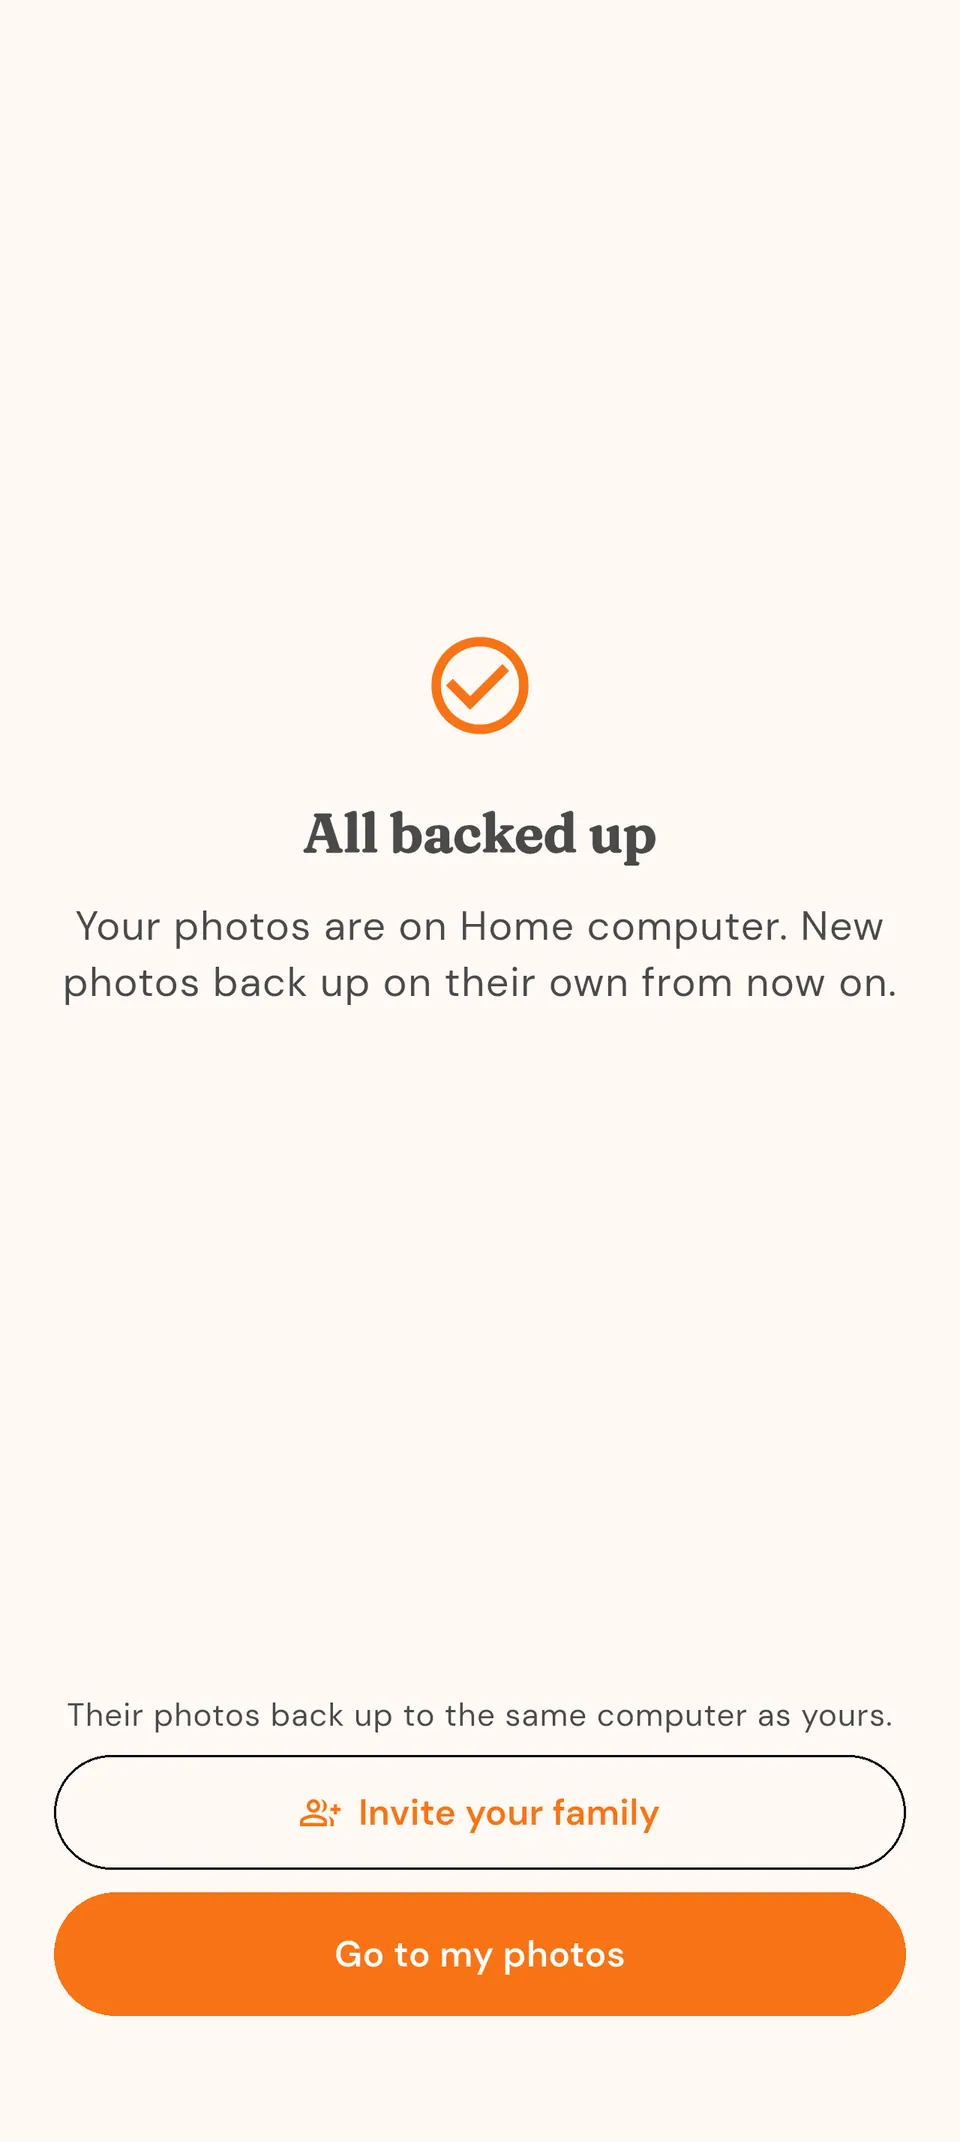
Each person you invite gets their own account on your computer, so their phone backs up there without your password.
Before you invite
- You need to be the person who set up Bombajom on the computer (the family admin).
- Turn on Back up from anywhere, so family members can join from their own home.
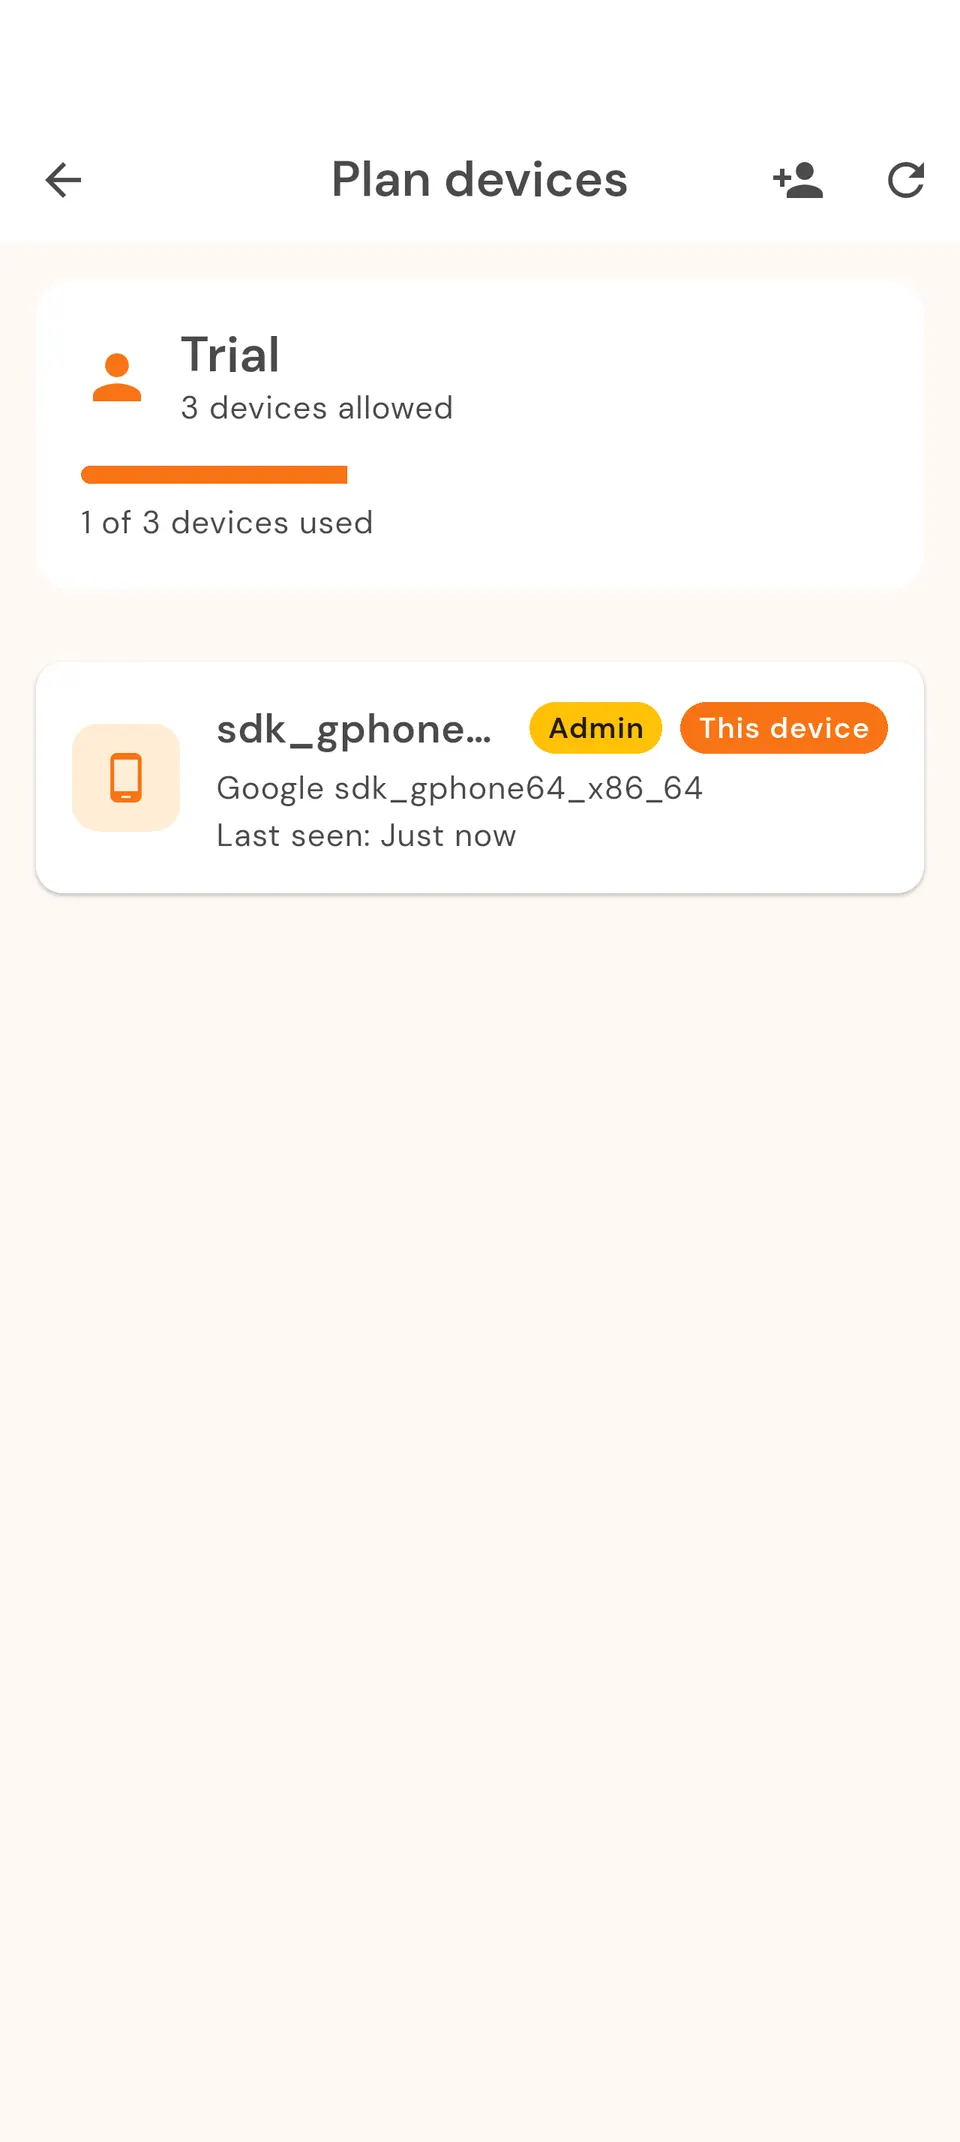
- You need an active plan. Pro covers up to 3 people and Family covers up to 12, and you count as one of them.
Invite from your computer
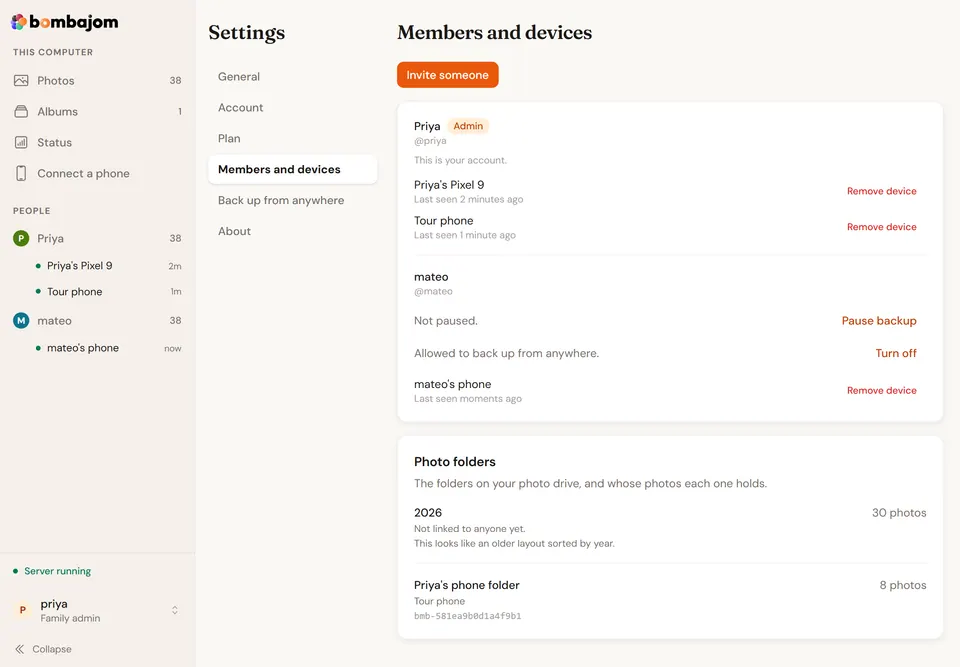
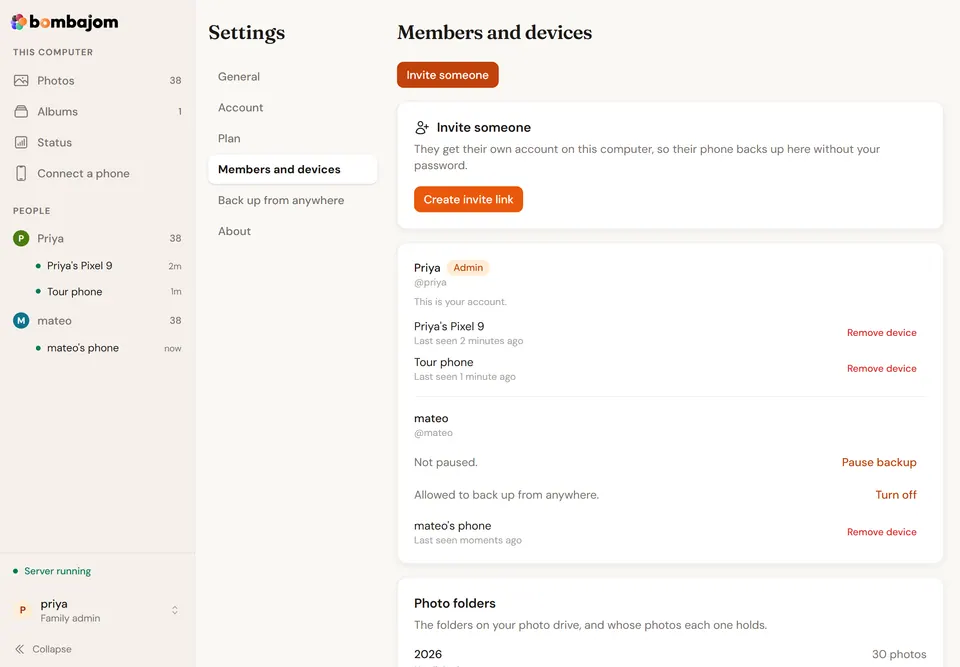
- Open Bombajom on your computer, then Settings, then Members and devices.
- Click Invite someone, then Create invite link.
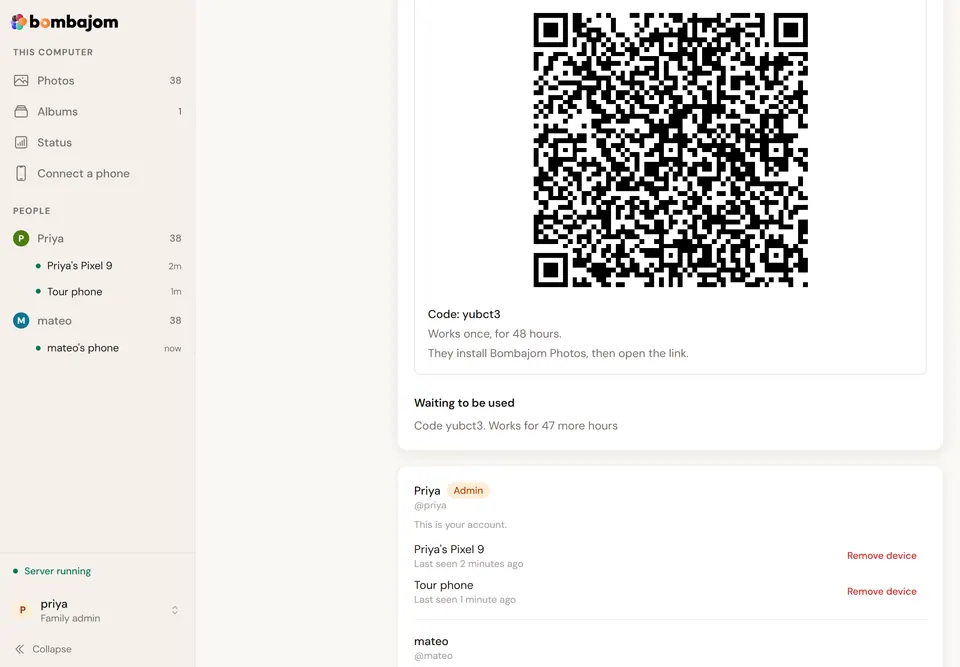
- Send the link to the person you're inviting, or have them scan the code with their phone's camera or a QR scanner app such as Google Lens.
You can also start from Connect a phone.
Invite from your phone
- Open Settings, then Family.
- Tap Invite someone.
- Copy or share the link.
What your family member does
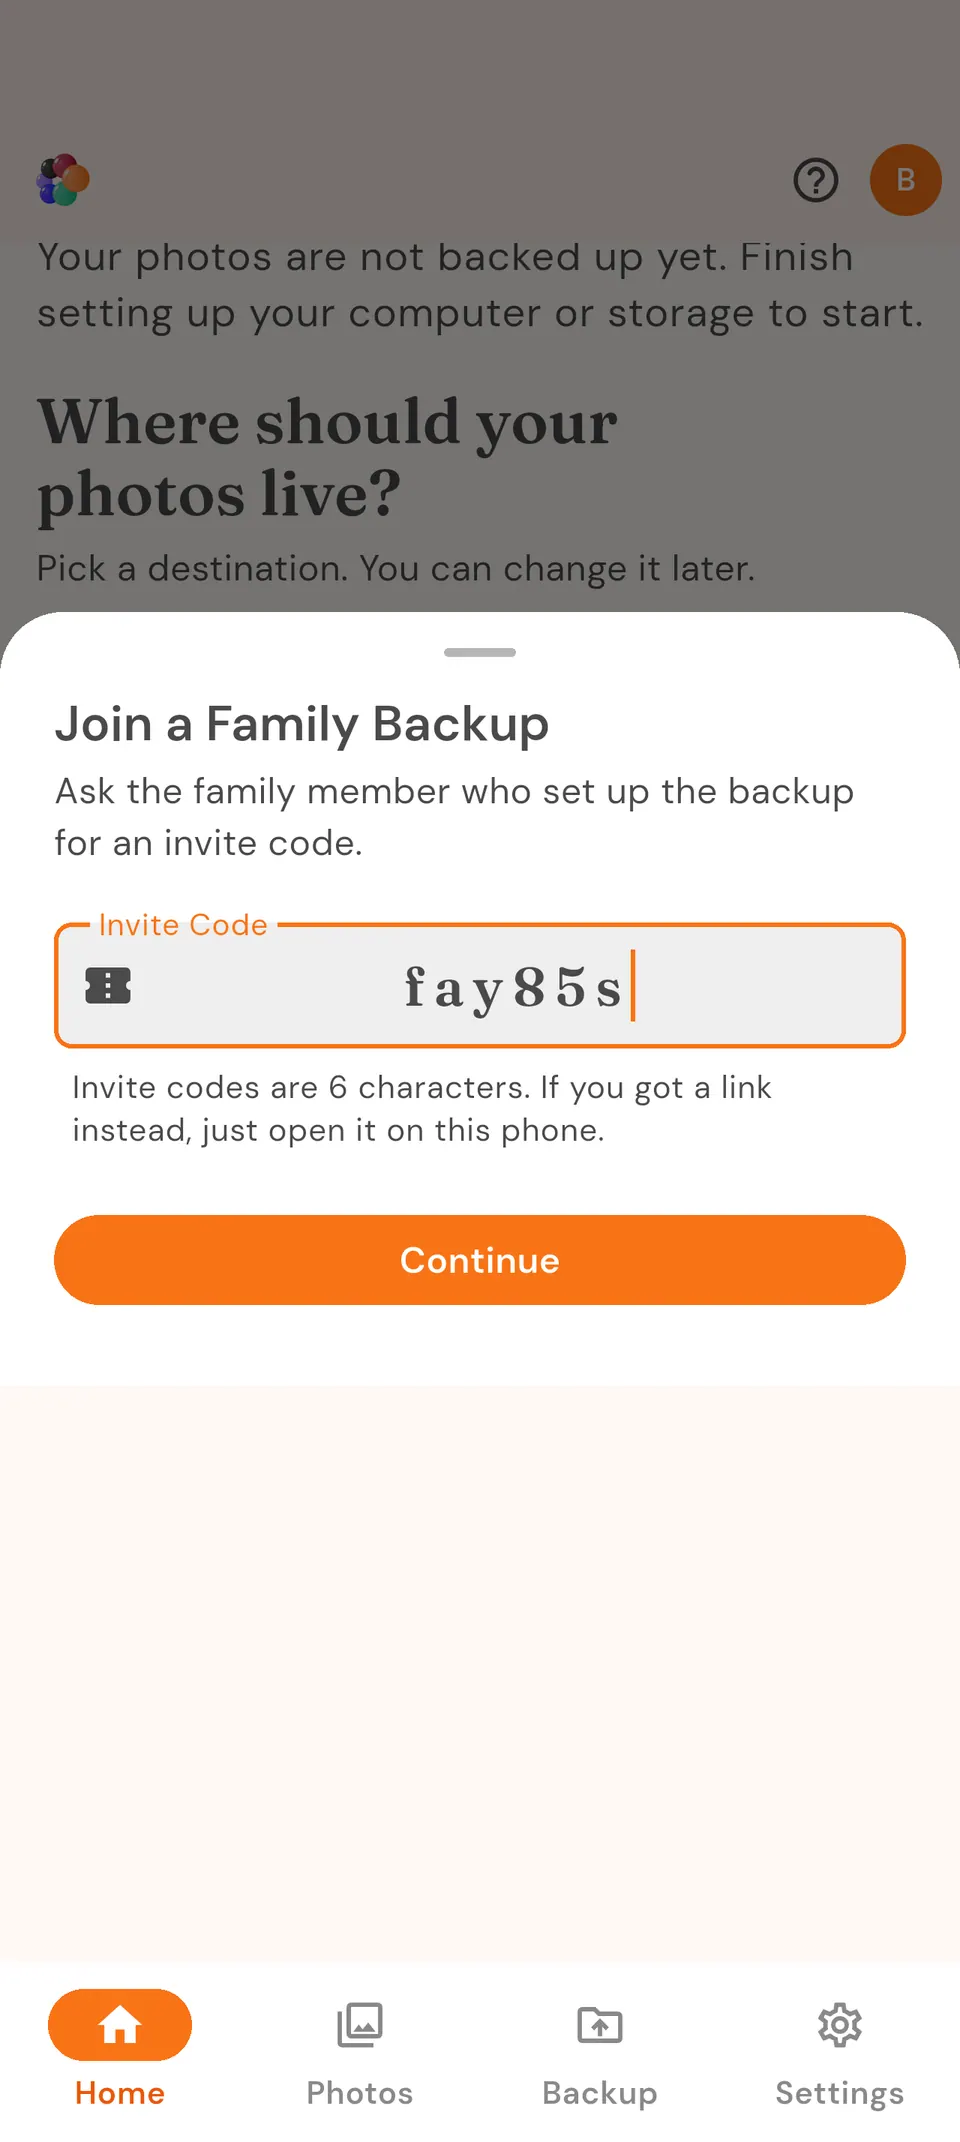
- Install Bombajom Photos on their phone. The download page shows the options available today.
- Open the link you sent, then tap Open in the app.
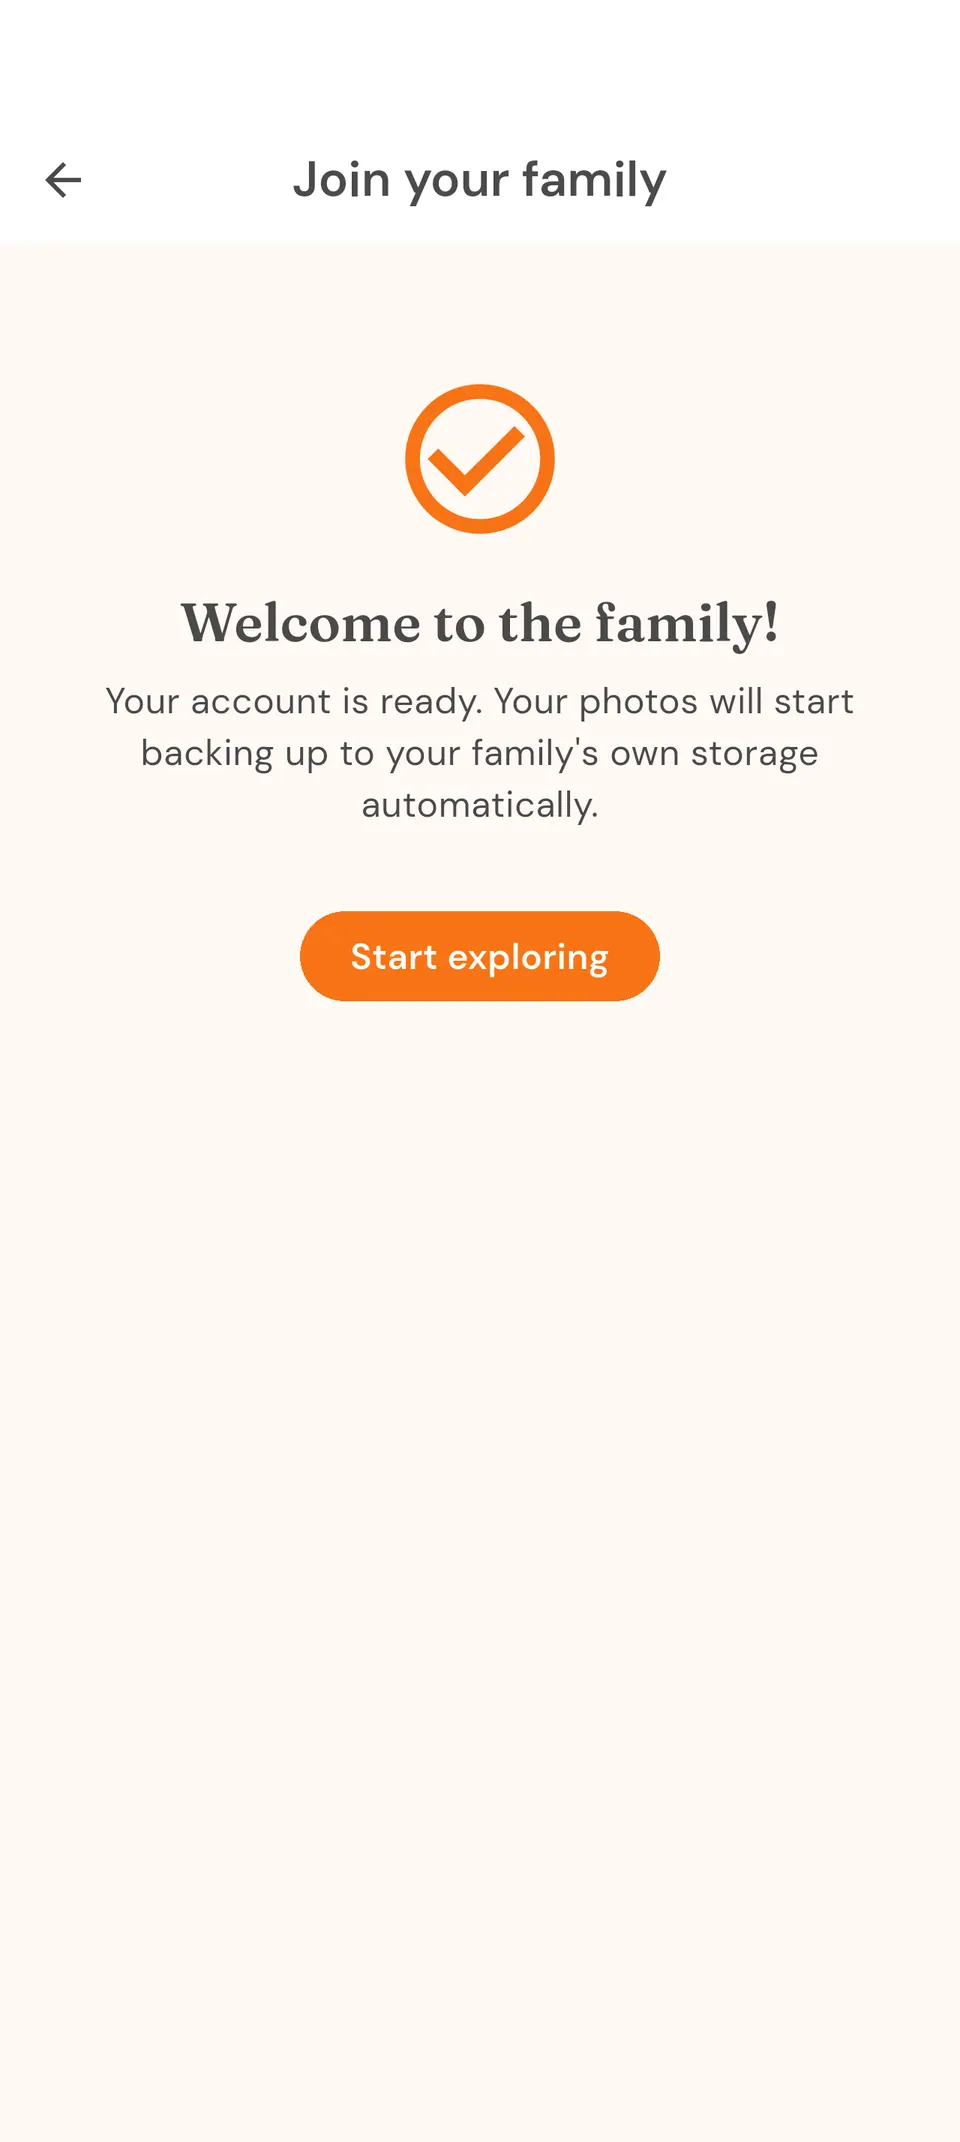
- Choose a username, email and password. Their phone starts backing up to your computer, as long as they let the app see their photos. The first backup can take a few minutes.
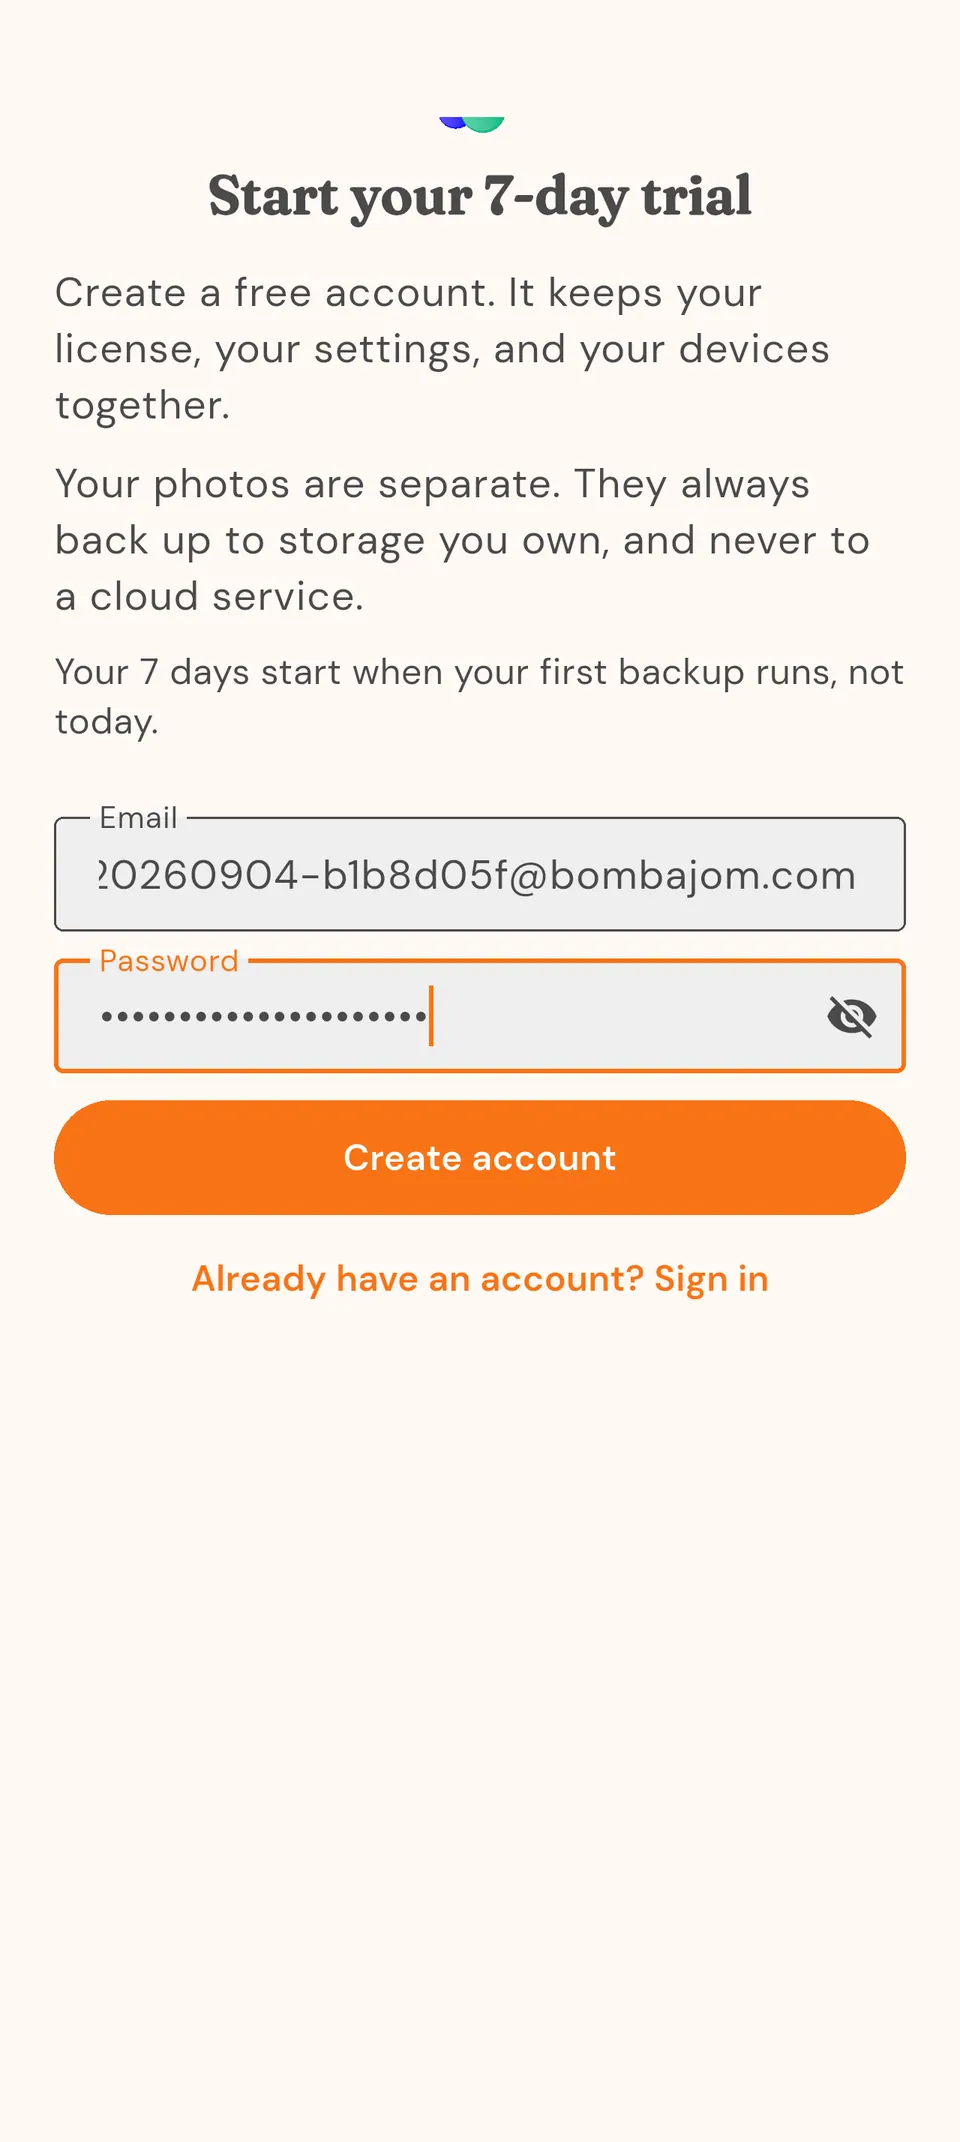
- They don't need a Bombajom account. If they later want to back up to their own storage too, the app asks them to create a free one.
Good to know
- Each invite works once, for 48 hours.
- Up to 5 invites can be waiting at the same time.
- Everyone in your household can see every photo in the shared library, whoever backed it up.
- In Members and devices you can pause someone's backup, keep them to backing up at home, remove a phone, or remove someone from the family. Pausing stops their backup everywhere, including at home. Removing a phone keeps their place on your plan. Removing the person frees it: do that in Members and devices on your computer. Their photos stay in their folder on your storage until you delete it.
- Removing someone stops their phones backing up here straight away. Bombajom stops showing the photos only they backed up, and the files stay in their folder on your storage until you delete them. If you invite them again, they start fresh.
If something goes wrong
- The link stopped working: it lasts 48 hours and works once. Make a new one.
- "Your plan covers ... people": everyone your plan covers is already set up. To make room, remove someone in Members and devices on your computer. On Pro you can also move up to Family.
- "Invites need Back up from anywhere": turn it on, then try again.
- The link opened a web page instead of the app: tap Open in the app. If nothing happens, install Bombajom Photos first, then come back to the link and tap Open in the app again.
Advanced Features
Fine-tune your backup with these extras.
Upload Speed Limit
Keep backups from hogging your connection:
- Go to Settings and tap "Upload speed limit"
- Pick a preset: Unlimited, 10 MB/s, 5 MB/s, 1 MB/s, or 512 KB/s
- Useful when you want bandwidth free for streaming or video calls
File Naming Patterns
Customize how files are named on your storage:
- Keep original: Original names (e.g.,
IMG_1234.jpg) - Date + Original:
2026-01-15_IMG_1234.jpg - Date and Time:
2026-01-15_14-30-45.jpg - More presets (Friendly Date, Date + Counter, Device + DateTime, Weekday + Time), plus a custom pattern editor
Backup Verification
Ensure files were uploaded correctly:
- Each upload is verified automatically by comparing SHA-256 file hashes
- Failed uploads are retried automatically
- Files larger than 50 MB skip hash verification to save bandwidth
- Failed items are listed in Settings under "Sync statistics"
Multiple Storage Connections
You can save more than one storage connection:
- Add several connections (for example, a NAS and an external drive)
- Photos back up to the connection that's currently active
- Switch the active connection anytime in Settings
Troubleshooting
Having issues? Here are solutions to common problems.
Can't Find My NAS
Symptoms: NAS doesn't appear during automatic discovery
- Check network connection: Ensure your phone and NAS are on the same WiFi network
- Verify services are running: Check that SMB or WebDAV is enabled on your NAS
- Try manual entry: Tap "Enter manually" and enter your NAS IP address directly
- Check router settings: Some routers block mDNS - try disabling "AP Isolation" or "Client Isolation" in router settings
- Restart discovery: Pull down to refresh the discovery list and wait 10-15 seconds
- Firewall blocking: Ensure ports 445 (SMB) or 8080/8081 (WebDAV) aren't blocked
Connection Failed
Symptoms: "Cannot connect" or "Connection failed" error
- Verify credentials: Double-check your username and password (they're case-sensitive)
- Check user permissions: Ensure the user has read/write access to the shared folder
- SMB protocol version: Ensure SMB2 or higher is enabled (SMB1 is not supported for security reasons)
- Try IP address: Use your NAS IP address instead of hostname (e.g.,
192.168.1.100instead ofsynology.local) - Test from computer: Try connecting to your NAS from a Windows/Mac computer to verify it's working
- NAS is online: Verify your NAS is powered on and accessible
Authentication Failed
Symptoms: Username/password rejected
- Log into NAS web interface: Verify your password works there first
- Check account status: Account might be disabled or locked
- Special characters: Some special characters in passwords can cause issues - try a simpler password temporarily
- Two-factor authentication: If your NAS uses 2FA, you may need an app-specific password
- Domain accounts: For Active Directory users, try format:
DOMAIN\username
Sync is Slow
Symptoms: Photos uploading very slowly
- WiFi frequency: Connect to 5GHz WiFi instead of 2.4GHz if available (much faster)
- Router proximity: Move closer to your WiFi router
- Network interference: Check for interference from other devices (microwaves, baby monitors, etc.)
- NAS load: Ensure your NAS isn't under heavy load (check CPU and disk usage)
- WiFi congestion: Too many devices on WiFi can slow things down
- File size: Large videos will take longer - this is normal
- SMB version: Ensure SMB3 is enabled (faster than SMB2)
Sync Stops in Background
Symptoms: Sync pauses when you switch apps or lock your phone
iOS Solutions:
On iPhone, backups run while the app is open. Keep it open, ideally plugged in, until a large backup finishes.
Android Solutions:
- Go to Settings → Apps → Bombajom Photos → Battery
- Set to "Unrestricted" or "Don't optimize"
- Enable "Background activity"
- Some manufacturers (Samsung, Xiaomi, etc.) have additional battery optimization settings - disable those too
Photos Not Appearing on NAS
Symptoms: App says "synced" but files aren't on NAS
- Check sync status: Open Settings and tap "Sync statistics" to see failed items
- Verify folder path: Double-check the folder path in settings matches where you're looking on NAS
- Check storage space: Ensure there's enough free space on your NAS
- NAS logs: Check your NAS logs for permission errors or file system issues
- Folder permissions: Verify the user has write permissions to the folder
- Hidden files: Some file managers hide files starting with "." - check "Show hidden files"
Duplicate Photos
Symptoms: Same photo uploaded multiple times
- Duplicate detection is automatic: Files identical to what's already on your storage are skipped. There's no setting to check.
- File names changed: If you renamed files on your storage, they may be uploaded again
- Different locations: Photos in different folders are treated as different files
- Same name, different photo: A file that shares a name with a different photo is kept side by side under a new name, not treated as a duplicate
Battery Drain
Symptoms: Phone battery drains quickly during sync
- Charge while you sync: Keep your phone plugged in during big backups
- WiFi Only: Don't sync on mobile data (uses more battery)
- Pause large syncs: Break up large backups into smaller sessions
- Close other apps: Free up resources for Bombajom Photos
Large Videos Failing
Symptoms: Large video files fail to upload
- Unstable connection: Move closer to your router. Uploads resume automatically if the connection drops.
- Memory limits: Very large files (4GB+) may hit device memory limits
- WiFi stability: Ensure stable WiFi connection during long uploads
- NAS file size limits: Check your NAS has no file size restrictions
- Skip videos: Turn off "Sync videos" in Settings > Sync to back up photos only (in newer versions of the app: What to back up, then "Back up videos")
If a backup is cut off partway, a broken copy can be left in the photo's folder. Newer versions of the app don't leave one on a shared folder. To remove ones left earlier, open Settings, choose your storage device, then Tidy up broken copies. Only broken copies of photos that are safely backed up are removed.
Getting More Help
If you're still experiencing issues, contact us at support
Required Information:
- Device model: e.g., iPhone 15 Pro, Samsung Galaxy S24
- OS version: e.g., iOS 17.2, Android 14
- App version: Check in Settings → About
- NAS model and firmware: e.g., Synology DS920+ DSM 7.2
- Error messages: Exact error text or screenshot
- Steps to reproduce: What were you doing when the issue occurred?
- App diagnostics: Run Settings → Health check and include what it reports
Frequently Asked Questions
Common questions and answers about Bombajom Photos.
General Questions
How much does Bombajom Photos cost?
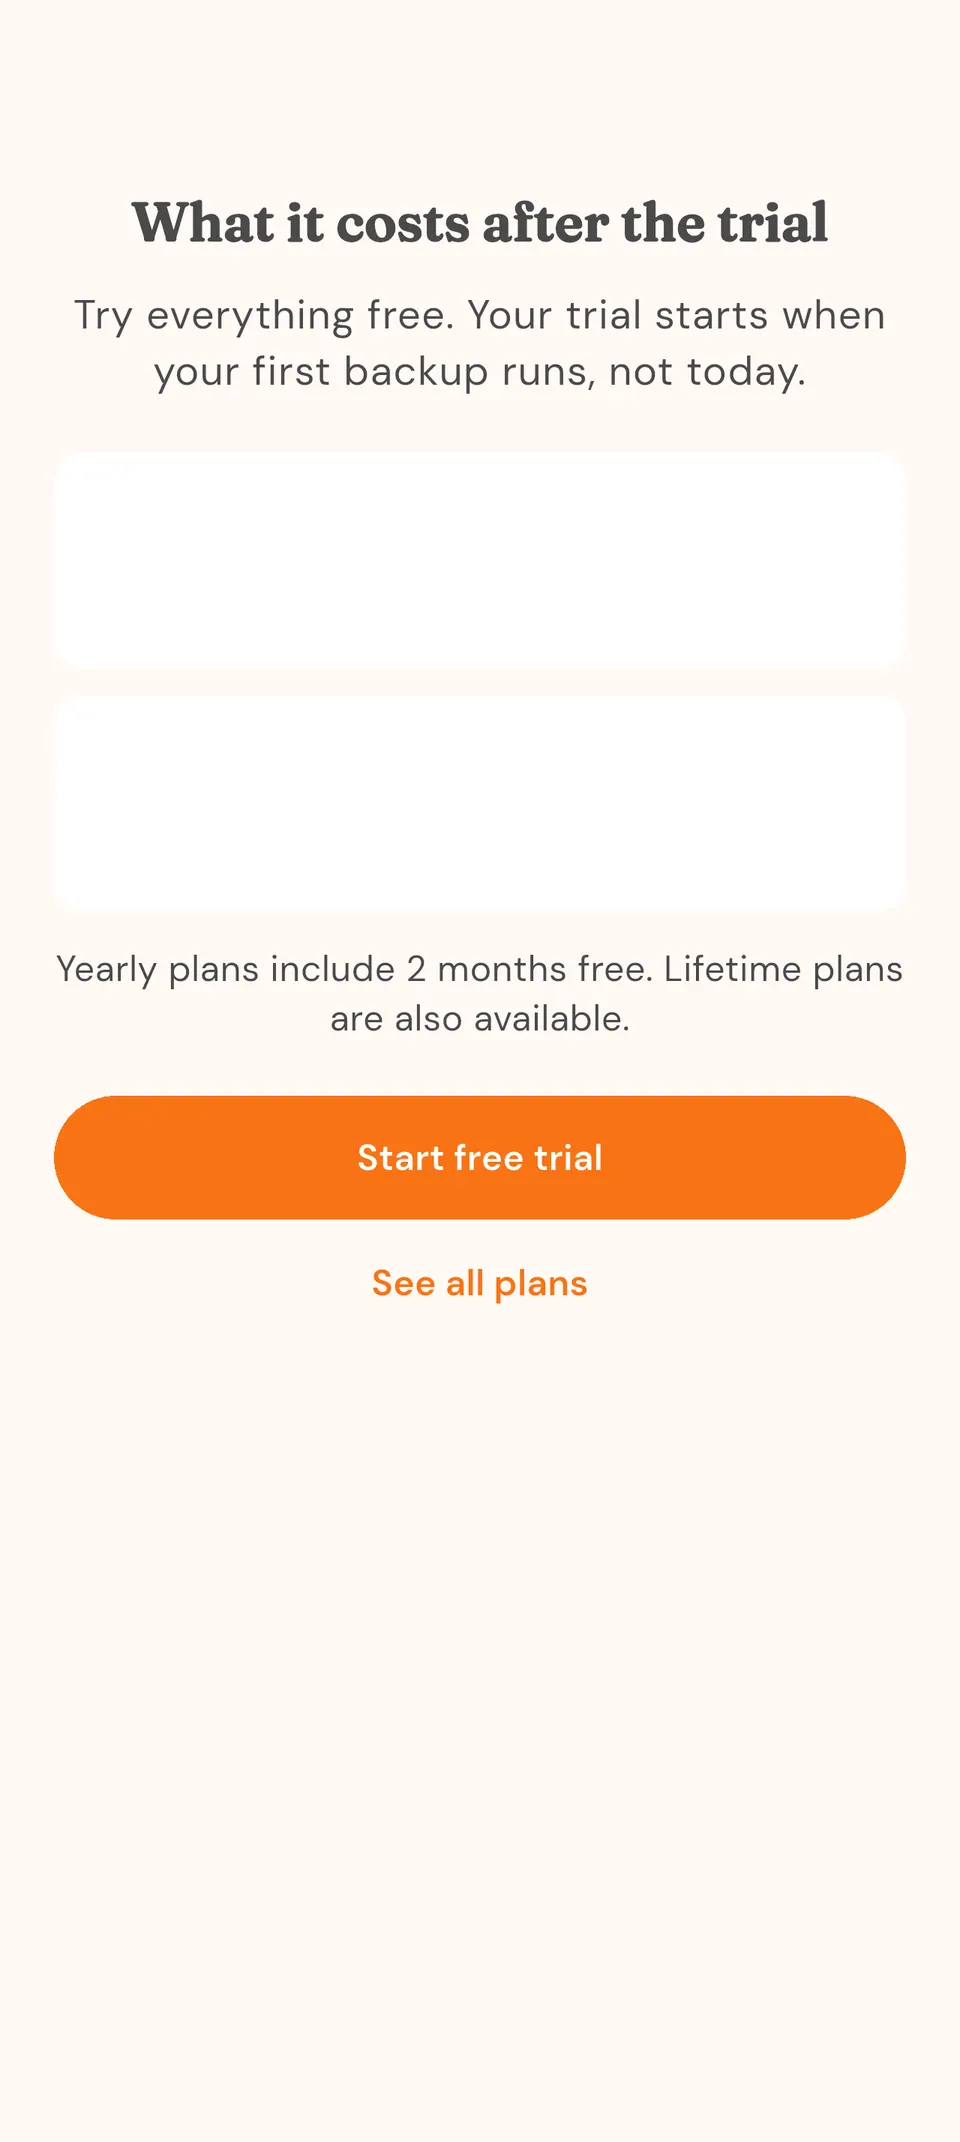
Pro costs $4.99/mo or $49.99/yr and covers up to 3 people. Family costs $9.99/mo or $99.99/yr and covers up to 12 people. Phones are unlimited on every plan. Each plan also runs on up to 3 computers on Pro or 12 on Family. Back up from anywhere covers one computer per plan; the others back up at home. Annual billing gives you 2 months free. Prefer to pay once? Pro Lifetime is $249.99 and Family Lifetime is $449.99, with no recurring charges. All new users get a 7-day free trial with full Pro features. There are no storage limits because you use your own storage.
Do I need internet for Bombajom Photos to work?
Not for local backups. If your phone and your storage (a computer, external drive, or a Synology/QNAP NAS) are on the same WiFi network, no internet is needed and your photos stay inside your home. Backing up to a remote server such as Nextcloud does use the internet, encrypted over HTTPS.
What happens if I lose my phone?
Your photos are safe on your storage. Install Bombajom Photos on your new phone, connect to the same storage, and all your backed up photos are right where you left them.
Can I access my photos when I'm away from home?
Yes, for backing up. Turn on Back up from anywhere in the app, and when you open it away from home, new photos back up to your own storage through our relay, which keeps none of them. Videos of any size back up, and a broken connection picks up where it left off. With an older version of Bombajom on your computer, large videos still wait until you are home. It covers one computer per plan. Storage that is reachable over the internet, such as a Nextcloud server, works without it (see the Nextcloud guide). For browsing your library remotely, use your NAS's built-in remote tools for now (like Synology QuickConnect or QNAP myQNAPcloud). We're working on making remote access easier in future versions.
How is this different from Google Photos or iCloud?
Google Photos and iCloud keep your photos on company servers, under their terms. Bombajom Photos keeps everything on hardware you own. At home your photos go straight to your storage. Away from home, if you turn on Back up from anywhere, they pass through our relay, which keeps none of them.
Technical Questions
What NAS devices are supported?
Any NAS that supports standard file sharing works with Bombajom Photos. This includes:
- Synology: All DiskStation models
- QNAP: All TS/TVS models
- Nextcloud: Self-hosted or cloud instances
- TrueNAS/FreeNAS: All versions
- OpenMediaVault: All versions
- Unraid: All versions
- Windows File Shares: Any Windows PC with shared folders
- Linux with Samba: Raspberry Pi, Ubuntu Server, etc.
Does it work with videos too?
Yes. Bombajom Photos backs up both photos and videos from your camera roll. Videos wait in a lower-priority queue behind your photos, so your photos finish first and large files don't hold everything up.
How much storage do I need?
That depends on how many photos you have! A rough estimate:
- 1,000 photos ≈ 3-5 GB
- 10,000 photos ≈ 30-50 GB
- 100,000 photos ≈ 300-500 GB
- Videos take much more space - 1 minute of 4K video ≈ 400 MB
Check your photo library size in your phone's settings to get an exact estimate.
Can I delete photos from my phone after backup?
Yes, but we recommend:
- Wait for the backup to fully complete (all photos show green checkmarks)
- Verify a few photos are accessible on your NAS
- Then you can safely delete from your phone to free up storage
Your photos are safely stored on your NAS, so deleting them from your phone is safe once backup is confirmed.
What file formats are supported?
Bombajom Photos backs up these formats:
- Photos: JPEG, HEIC, PNG and DNG
- Videos: MP4, MOV, HEVC/H.265
- Each file keeps its original format; nothing is converted
- Not backed up yet on iPhone: the motion part of a Live Photo, the RAW file of a RAW+JPEG pair, and one of the two versions your phone keeps of some photos (an edited or Portrait photo). Your computer gets the photo as it looks now, not as it was taken.
Does it compress my photos?
No. Each photo is backed up as the file your phone keeps, with no compression or quality loss. On iPhone, a photo your phone keeps in two versions is backed up as it looks now, and a Live Photo as its still image, for now.
Sync Questions
How often does it sync?
By default, Bombajom Photos syncs automatically:
- While the app is open: New photos are detected and queued as you take them
- In the background, on Android: At home, about once an hour when your phone allows it. Your phone decides when; it may wait until it is charging or you open the app.
- On iPhone: When you open the app.
- Manually: Tap "Sync now" anytime for an immediate sync
Some phones stop apps in the background to save battery. If backups don't happen on their own, allow Bombajom Photos to run in the background in your phone's battery settings. If you force stop the app, background backup pauses until you open it again. Background backup works at home. Away from home, keep the app open to back up.
You can turn automatic syncing on or off with the "Auto sync" setting.
Why isn't it syncing when my phone is locked?
iOS and Android limit background activity to preserve battery. To keep backups going:
- iOS: Backups run when you open the app. Keep it open until a large backup finishes.
- Android: Disable battery optimization for Bombajom Photos
- For large initial backups, keep phone plugged in and app open
What happens if I lose WiFi during upload?
Bombajom Photos automatically handles network interruptions:
- Pauses the upload when connection is lost
- Remembers exactly where it stopped
- Automatically resumes when connection returns
- No data is lost: files are verified before being marked complete
Can I sync multiple devices to the same NAS?
Yes. Install Bombajom Photos on multiple devices and configure each to connect to your storage:
- Each device can use separate folders (e.g.,
/photos/mom/,/photos/dad/) - Or all devices can use the same folder; duplicate detection prevents re-uploading
- Perfect for families backing up multiple phones to one NAS
Can my family back up to the same computer?
Yes. Invite them from Settings, then Members and devices on your computer, or Settings, then Family on your phone. Each person gets their own account. See Share with your family.
What if Bombajom shuts down?
Your photos are ordinary files on storage you own, so you can open them without Bombajom. Phones already connected to a computer running the Bombajom helper app keep backing up to it at home: for good on a lifetime plan, until the end of the current billing period on a subscription, and until the trial ends on a free trial. What would stop: creating an account, signing in again or resetting a password, buying or renewing a plan, adding a new phone or family member, and backing up away from home.
Security & Privacy Questions
Are my photos encrypted?
Your photos are saved on your own storage as ordinary files. Bombajom does not encrypt them, so you can open them without Bombajom.
- At rest: To protect the files themselves, turn on encryption for the drive or storage device that holds them, for example BitLocker on Windows Pro or the encryption setting of a storage device such as a Synology or QNAP
- At home: The connection between your phone and the Bombajom app on your computer is not encrypted yet
- Away from home: With Back up from anywhere turned on, photos travel through our relay over encrypted connections. The relay decrypts and re-encrypts them on the way through and keeps none of them
- Your own server or address: A connection straight to a storage device, to a server such as Nextcloud, or to a remote address you set up yourself is encrypted only when it uses HTTPS. The Android app's SMB file-sharing connection to a storage device is not encrypted
Where are my credentials stored?
Your NAS username and password are stored securely:
- iOS: In the Secure Enclave / Keychain (protected by Face ID/Touch ID)
- Android: In Android Keystore (hardware-backed on supported devices)
- Credentials are encrypted and never leave your device
- Never sent to any server or cloud service
Do you see my photos?
No. Bombajom does not store, look at, or analyze your photos:
- At home, photos go straight from your phone to your storage
- Away from home, with Back up from anywhere turned on, they pass through our relay. It could technically read them while it forwards them, and it keeps none of them
- Anything done with your photos, such as labelling them for search or making thumbnails, happens on your own devices: your phone or your computer
Performance Questions
How fast is the backup?
Backup speed depends on several factors:
- WiFi speed: 5GHz WiFi is much faster than 2.4GHz
- NAS performance: Faster NAS devices (better CPU/disk) upload faster
- File size: Larger photos/videos take longer
- Network load: Other devices using bandwidth can slow things down
Typical speeds: 10-50 photos per minute on a good WiFi connection.
Will syncing slow down my NAS?
During active syncing, there may be some impact:
- CPU usage increases while writing files
- Disk activity increases (normal for any file operation)
- Network bandwidth is used for transfers
- Impact is usually minimal unless you have a very slow NAS
Schedule syncs for off-peak hours if concerned about performance.
Does it drain my phone battery?
Backing up does use battery, but the app is careful with it:
- Syncs over WiFi by default, not mobile data
- Uploads run one at a time from a queue, so the app never does more work than it needs to
- Pauses when your battery drops low (below about 15%)
For initial large backups, keep phone plugged in.
Privacy & Security
Your privacy is our top priority. Here's how we protect your data.
What We Don't Do
- We never store your photos. They go to storage you own.
- We don't analyze, scan, or profile your photos, and we never train on them
- We don't track what is in your photo library
- We don't sell or share your data
What We Do
- Store your storage credentials securely in your device's encrypted keychain
- Send photos over an encrypted connection when your storage uses HTTPS, and through the relay when you back up away from home. The connection to the Bombajom app on your home computer, and the Android app's SMB file-sharing connection to a storage device, are not encrypted yet
- Carry your backup through a secure bridge we run when your storage is not reachable on your home network. The bridge forwards the data and keeps no copy of it, and you can turn it off
- Process your photos on your own devices: thumbnails, labeling and integrity checks run on your phone or your computer
- Verify file integrity using SHA-256 hashing
- Collect only your account details. The app sends no crash reports and no usage statistics
- Follow security best practices for credential storage
Credential Storage
Your NAS username and password are stored securely:
- iOS: Secure Enclave / Keychain (protected by Face ID/Touch ID and device encryption)
- Android: Android Keystore (hardware-backed encryption on supported devices)
- Credentials are encrypted at rest
- Never stored in plain text
- Never transmitted to any server
Network Security
- Local by default: When you back up to storage on your home network, everything stays local and no internet is needed
- In transit: Connections to a storage device or your own server are encrypted when they use HTTPS. The connection to the Bombajom app on your home computer, and the Android app's SMB file-sharing connection to a storage device, are not encrypted yet
- Remote servers are direct too: If you connect to your own server such as Nextcloud, photos travel encrypted (HTTPS) straight to it
- Our relay keeps no photos: With Back up from anywhere turned on, photos pass through our relay on their way to your storage when you are away from home. It decrypts and re-encrypts them in transit and keeps none of them
Data Flow
Here's exactly how your photos are handled:
- Photos stay on your device until you explicitly start a backup
- At home, the connection is direct from your phone to your storage. Away from home, with Back up from anywhere turned on, it goes through our relay, which keeps none of your photos
- Photos are transferred over an encrypted connection through the relay, and to storage that uses HTTPS. The connection to the Bombajom app on your home computer is not encrypted yet
- Photos are stored on your own storage. Bombajom does not keep or look at them.
- File integrity is verified using cryptographic hashing
GDPR & Privacy Compliance
Bombajom Photos is designed with privacy in mind:
- Your photos are never collected: We never collect your photos or any data about them. Your account (email and license status) is the only information we hold, and it's never linked to your photo library.
- No Tracking: No advertising or tracking code, and no analytics of our own
- Data Ownership: You own and control all your data
- Local Processing: Photo labels are worked out on your device